[Scroll down to see the thumbnail products | Desliza hacia abajo para ver los productos en miniaturas]
Hello friends! Today I created a scene using the My Monthly Hero kit July 2021. I love this kit and I needed to create a scene using masking paper and coloring with Copic Markers. I used a lot of coloring here so, I created a video if you want to watch it. It will be easier to see how I colored this card instead of explaining it because I'm not an expert in coloring.
¡Hola a todos! Hoy creé una escena utilizando el kit de Hero Arts, My Monthly Hero Julio 2021. Me encanta este kit y necesitaba crear una escena utilizando papel de enmascarado y coloreando con los Rotuladores Copic. En esta tarjeta coloreé muchísimo aquí, creé un vídeo si quisieras visualizarlo. Será más fácil ver como coloreé esta tarjeta en vez de explicarlo porque no soy una experta en colorear.
Featuring products | Presentación de Productos
• My Monthly Hero Kit JULY 2021
 ——— https://ldli.co/e/qj0535 [ HA ]

• Hero Arts Cling Stamp WOODGRAIN BOLD PRINTS
 ——— https://ldli.co/e/j96znp [ SSS ]
 ——— https://ldli.co/e/y4l5dk [ SBC ]
 ——— https://ldli.co/e/pe0y56 [ HA ]
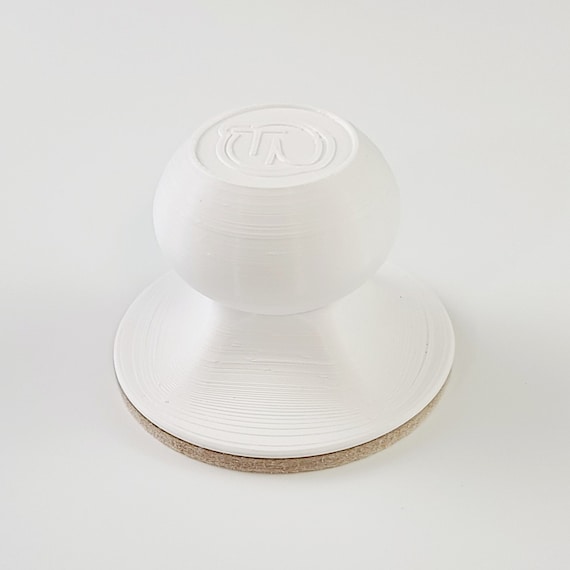
First, I picked a 4,25 by a 5,5-inch white piece of cardstock. I used my Mini MISTI Stamping Tool to double stamp the images to get well-defined images. From the MMH kit July 2021, I picked the mushroom house and the gnome first and placed them on top of the piece of white cardstock. I closed the lid of the Mini MISTI and inked them with the HA Intense Black ink which is a Copic-friendly ink. I stamped the images and, for this, I used a Pressure Pal to press the stamps on the paper firmly. Then, I stamped the same images on Masking Paper, cut them, and put them on these images so I could continue stamping the other images, the other house, and the trunk of the tree. I also masked these images, too! Later, I decided to use a Masking Pen to mask some circles that I created as if they were fireflies.
Primero, escogí un trozo de cartulina blanca de tamaño 4,25 por 5,5 pulgadas. Utilicé la Herramienta de Estampación Mini MISTI para estampar doblemente las imágenes y obtener imágenes mejor definidas. Del kit de MMH July 21, elegí la casita de seta y el gnomo primero y las puse sobre la cartulina blanca. Cerré la tapa de la Mini MISTI y las tinté con tinta negra, HA Intense Black ink que es una tinta que puede utilizarse para colorear con los Rotuladores Copic. Estampé las imágenes, y para ello, utilicé la Herramienta de Presión que ayuda a hacer presión a la hora de estampar las imágenes sobre el papel de con más firmeza. Entonces, estampé las mismas imágenes sobre Papel de Enmascarar, las recorté y las puse sobre las imágenes para así continnuar estampando las otras imágenes, la otra casa, y el tronco del árbol. ¡También enmascaré estas imágenes! Después decidí utilizar un Rotulador de Enmascarado para enmascarar algunos círculos que creé como si fueran luciérnagas.
Later, I masked the bottom of the card with Masking Tape so I could color the top part of the card. I applied the HA Lime Green Shadow ink with an Ink Blending Tool. Then, I colored the middle of the card with the HA Fresh Lawn Shadow ink and the HA Forever Green Shadow ink. Then, I wanted some texture in the background, so I used the MISTI Stamping Tool to stamp the HA Woodgrain Bold Prints with the HA Moss Bold Inks. I removed all masking pieces to start coloring.
Más tarde, enmascaré la parte inferior de la tarjeta con Cinta de Enmascarar para así poder colorear la parte superior de la tarjeta. Apliqué la tinta verde lima, HA Lime Green Shadow ink, con un Aplicador de Cepillo para tintas. Entonces coloreé el medio de la tarjeta con la tinta verde césped, HA Fresh Lawn Shadow ink y la tinta verde fuerte, HA Forever Green Shadow ink. Luego, quise un poco de textura en el fondo, así que utilicé la Herramienta de Estampación MISTI para estampar el sello de caucho de madera, HA Woodgrain Bold Prints con la tinta verde musgo, HA Moss Bold Inks. Quité todos las piezas de enmascarado para comenzar a colorear.
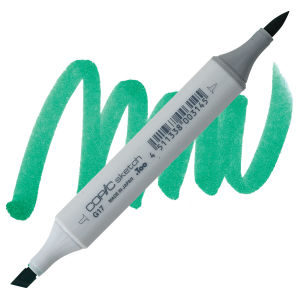
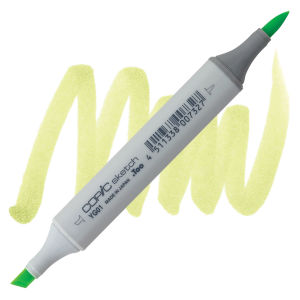
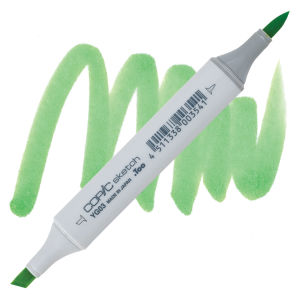
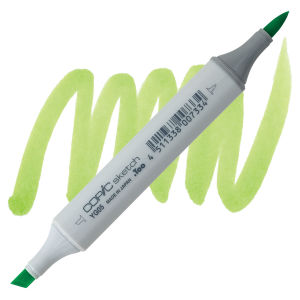
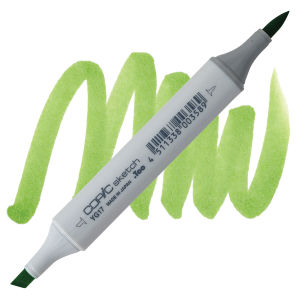
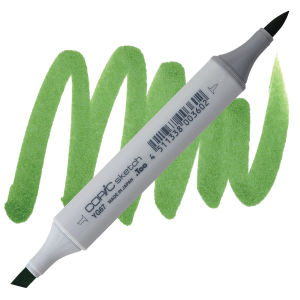
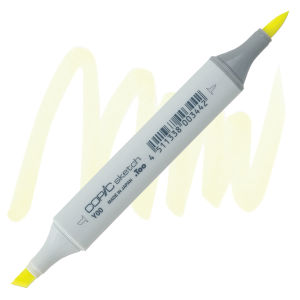
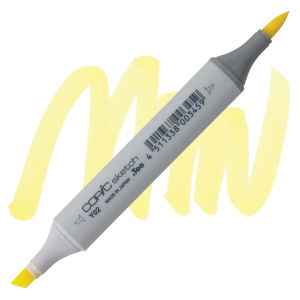
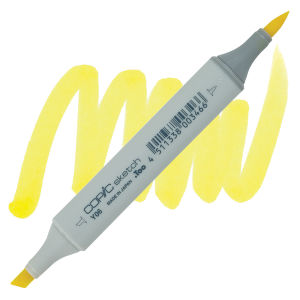
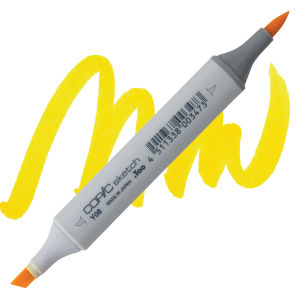
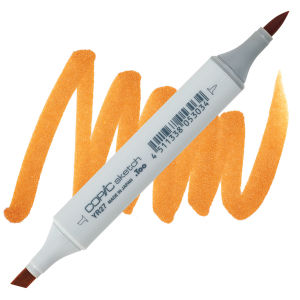
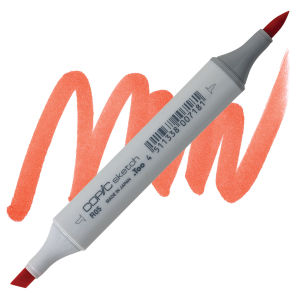
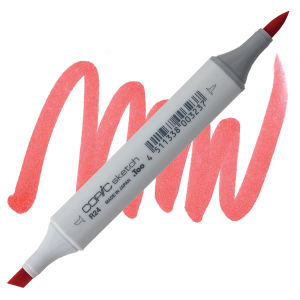
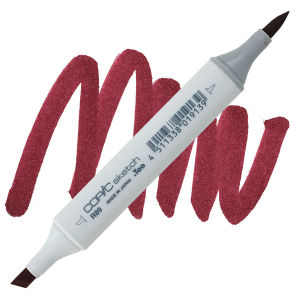
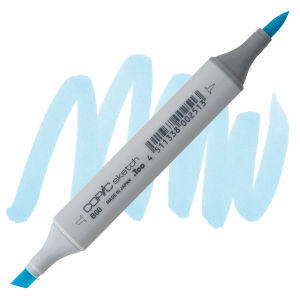
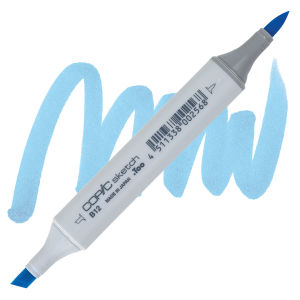
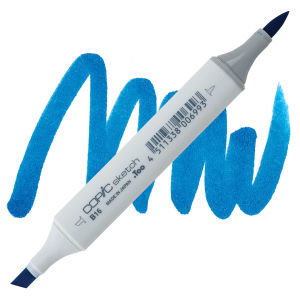
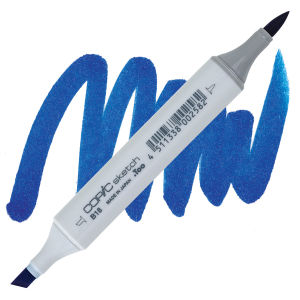
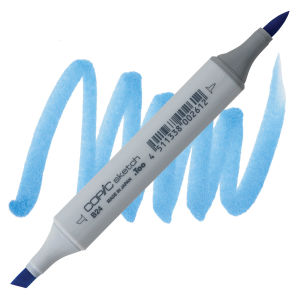
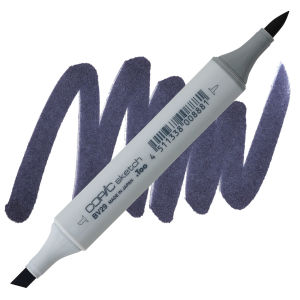
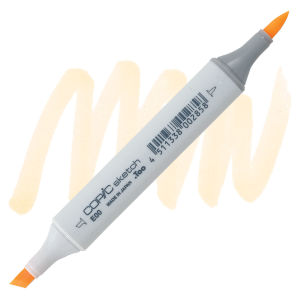
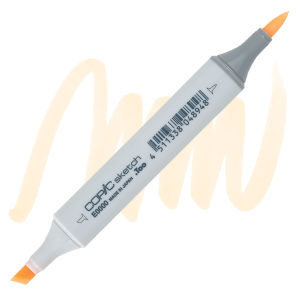
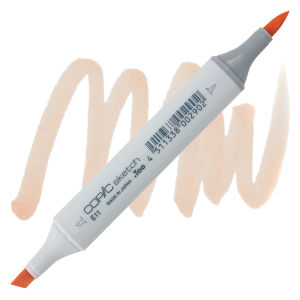
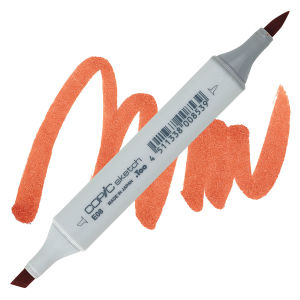
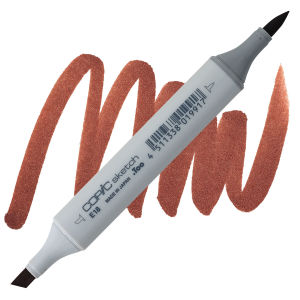
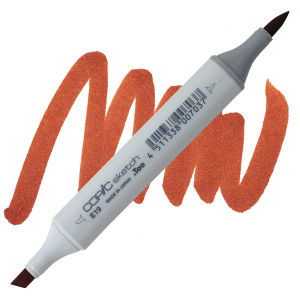
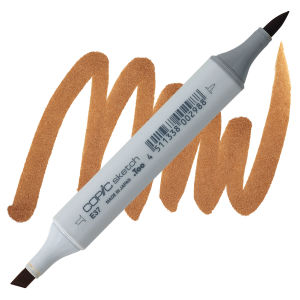
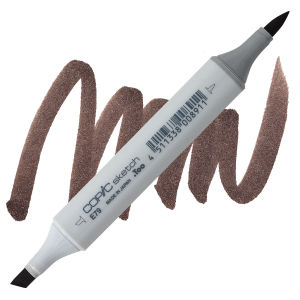
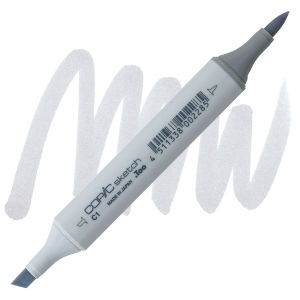
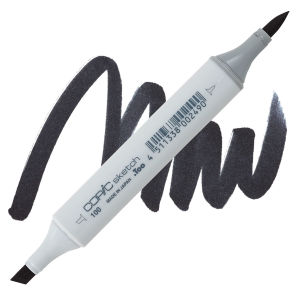
As these inks are Copic-friendly, I could color with Copic on top. I colored some plants at the top of the card and some water from a pond at the bottom of the card. I colored the images taking into account the light from the top. The Copic colors that I used were G28, G14, G17, YG05, YG17, YG67, BG96, YG01, Y00, Y06, Y02, 0 - Blender, YG03, Y08, E18, E19, E79, BV29, YR24, YR27, E08, R89, R46, R27, R24, R05, B00, B12, B24, B16, B18, E00, E000, E53, E11, E33, E34, E37, C4, E39, C1, C7, 100.
Como estas tintas pueden ser utilizadas con los Rotuladores Copic, pude pintars sobre estas tintas. Coloreé algunas plantas en la parte superior de la tarjeta y agua de un manantial en la parte inferior de la tarjeta. Coloreé las imágenes teniendo en cuenta la luz desde la parte arriba. Los colores Copics que utilicé fueron G28, G14, G17, YG05, YG17, YG67, BG96, YG01, Y00, Y06, Y02, 0 - Blender, YG03, Y08, E18, E19, E79, BV29, YR24, YR27, E08, R89, R46, R27, R24, R05, B00, B12, B24, B16, B18, E00, E000, E53, E11, E33, E34, E37, C4, E39, C1, C7, 100.
I used a black pen to create small rocks between the grassy area and the pond. Then, I stamped the sentiment at the bottom of the card with the HA Intense Black ink.
Utilicé un rotulador negro para crear pequeñas rocas entre el área del césped y el estanque. Luego, estampé la frase en la parte inferior de la tarjeta con la tinta negra, HA Intense Black ink.
Para terminar esta tarjeta, pegué la tarjeta sobre una base estándar blanca y añadí algunos detalles a las imágenes en color blanco con el rotulador de gel blanco.
And this is the card! I love how this card turned! It's a scene with magical creatures! What do you think of this card? Do you like this card as much as I do?
¡Y esta es la tarjeta! ¡Me encanta como quedó esta tarjeta! Es una escena con... ¡criaturitas mágicas! ¿Qué piensan sobre esta tarjeta? ¿Les ha gustado tanto como a mí?
Thank you so much for stopping by! See you soon!
¡Muchas gracias por pasarte por aquí y hasta pronto!
|




















.jpg)


0 Comments