[Scroll down to see the thumbnail products | Desliza hacia abajo para ver los productos en imágenes]
Hello there! It's me, Cha! Today I created a card for Joy Clair Designs blog with one of their fall digital sets. I used the Blessed & Grateful Digital Set and I just picked the pumpkin image to create this card and two sentiments that come with this set.
¡Hola a todos! Soy Cha. Hoy creé una tarjeta para el blog Joy Clair Designs con uno de sus sellos digitales otoñales. Utilicé el set Blessed & Grateful Digital Set y escogí la imagen de la calabaza para crear esta tarjeta y dos frases que vienen con este set.
Featuring product | Presentación de productos
• Blessed & Grateful Digital Set
 ——— https://ldli.co/e/g49gd4
As this image and these sentiments are digital stamps, I had to print them all on a piece of white cardstock. I printed them with a laser printer because I wanted to do some foiling, too. Once the images were all printed, I cut them out. I used my Silhouette Electronic Cutting Machine to cut the elements of this card electronically although they can be cut with scissors without any problem.
Como esta imagen y estas frases son sellos digitales, tuve que imprimilar en un trozo de cartulina blanca. Las imprimí con una impresora láser porque quise hacer la técnica de foiling también. Una vez que las imágenes estuvieran todas impresas, las recorté. Utilicé la máquina electrónica de corte Silhouette para recortar los elementos de esta tarjeta electrónicamente aunque se pueden cortar con unas tijeras sin ningún problema.
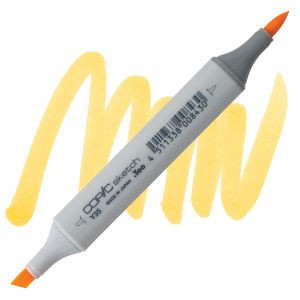
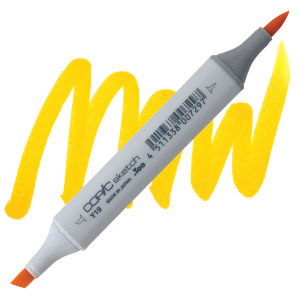
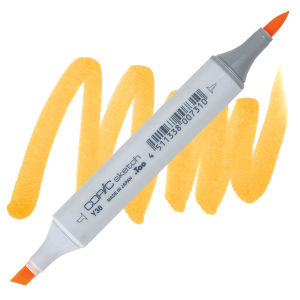
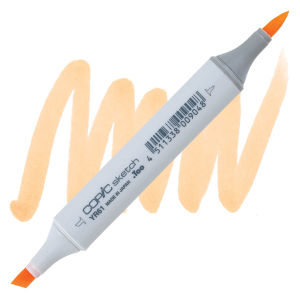
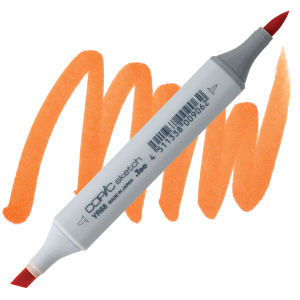
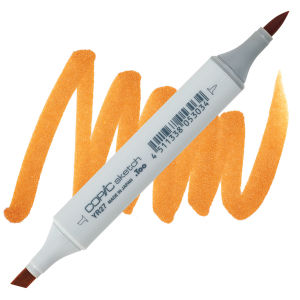
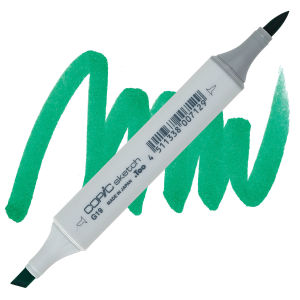
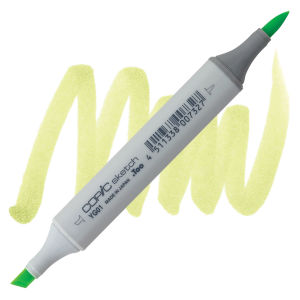
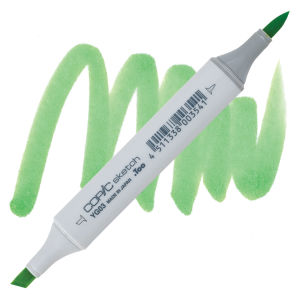
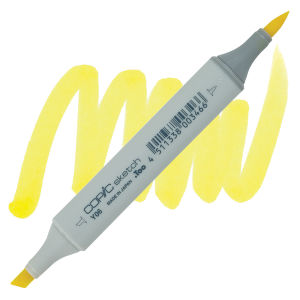
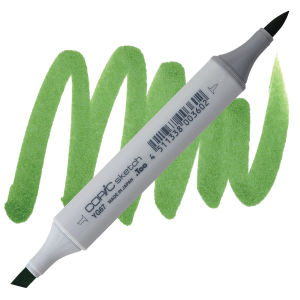
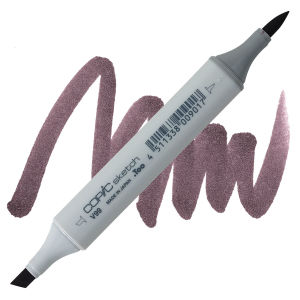
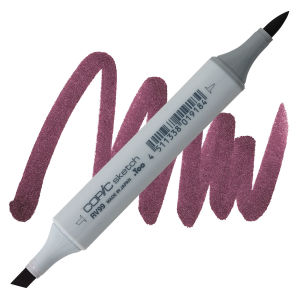
The image of the pumpkin was colored with Copic Sketch Markers - Y19, Y35, Y38, YR61, YR68, YR27, V99, RV99, Y06, YG01, YG03, G19, G28, YG67.
Coloreé la imagen de la calabaza con los rotuladores Copic Sketch - Y19, Y35, Y38, YR61, YR68, YR27, V99, RV99, Y06, YG01, YG03, G19, G28, YG67.
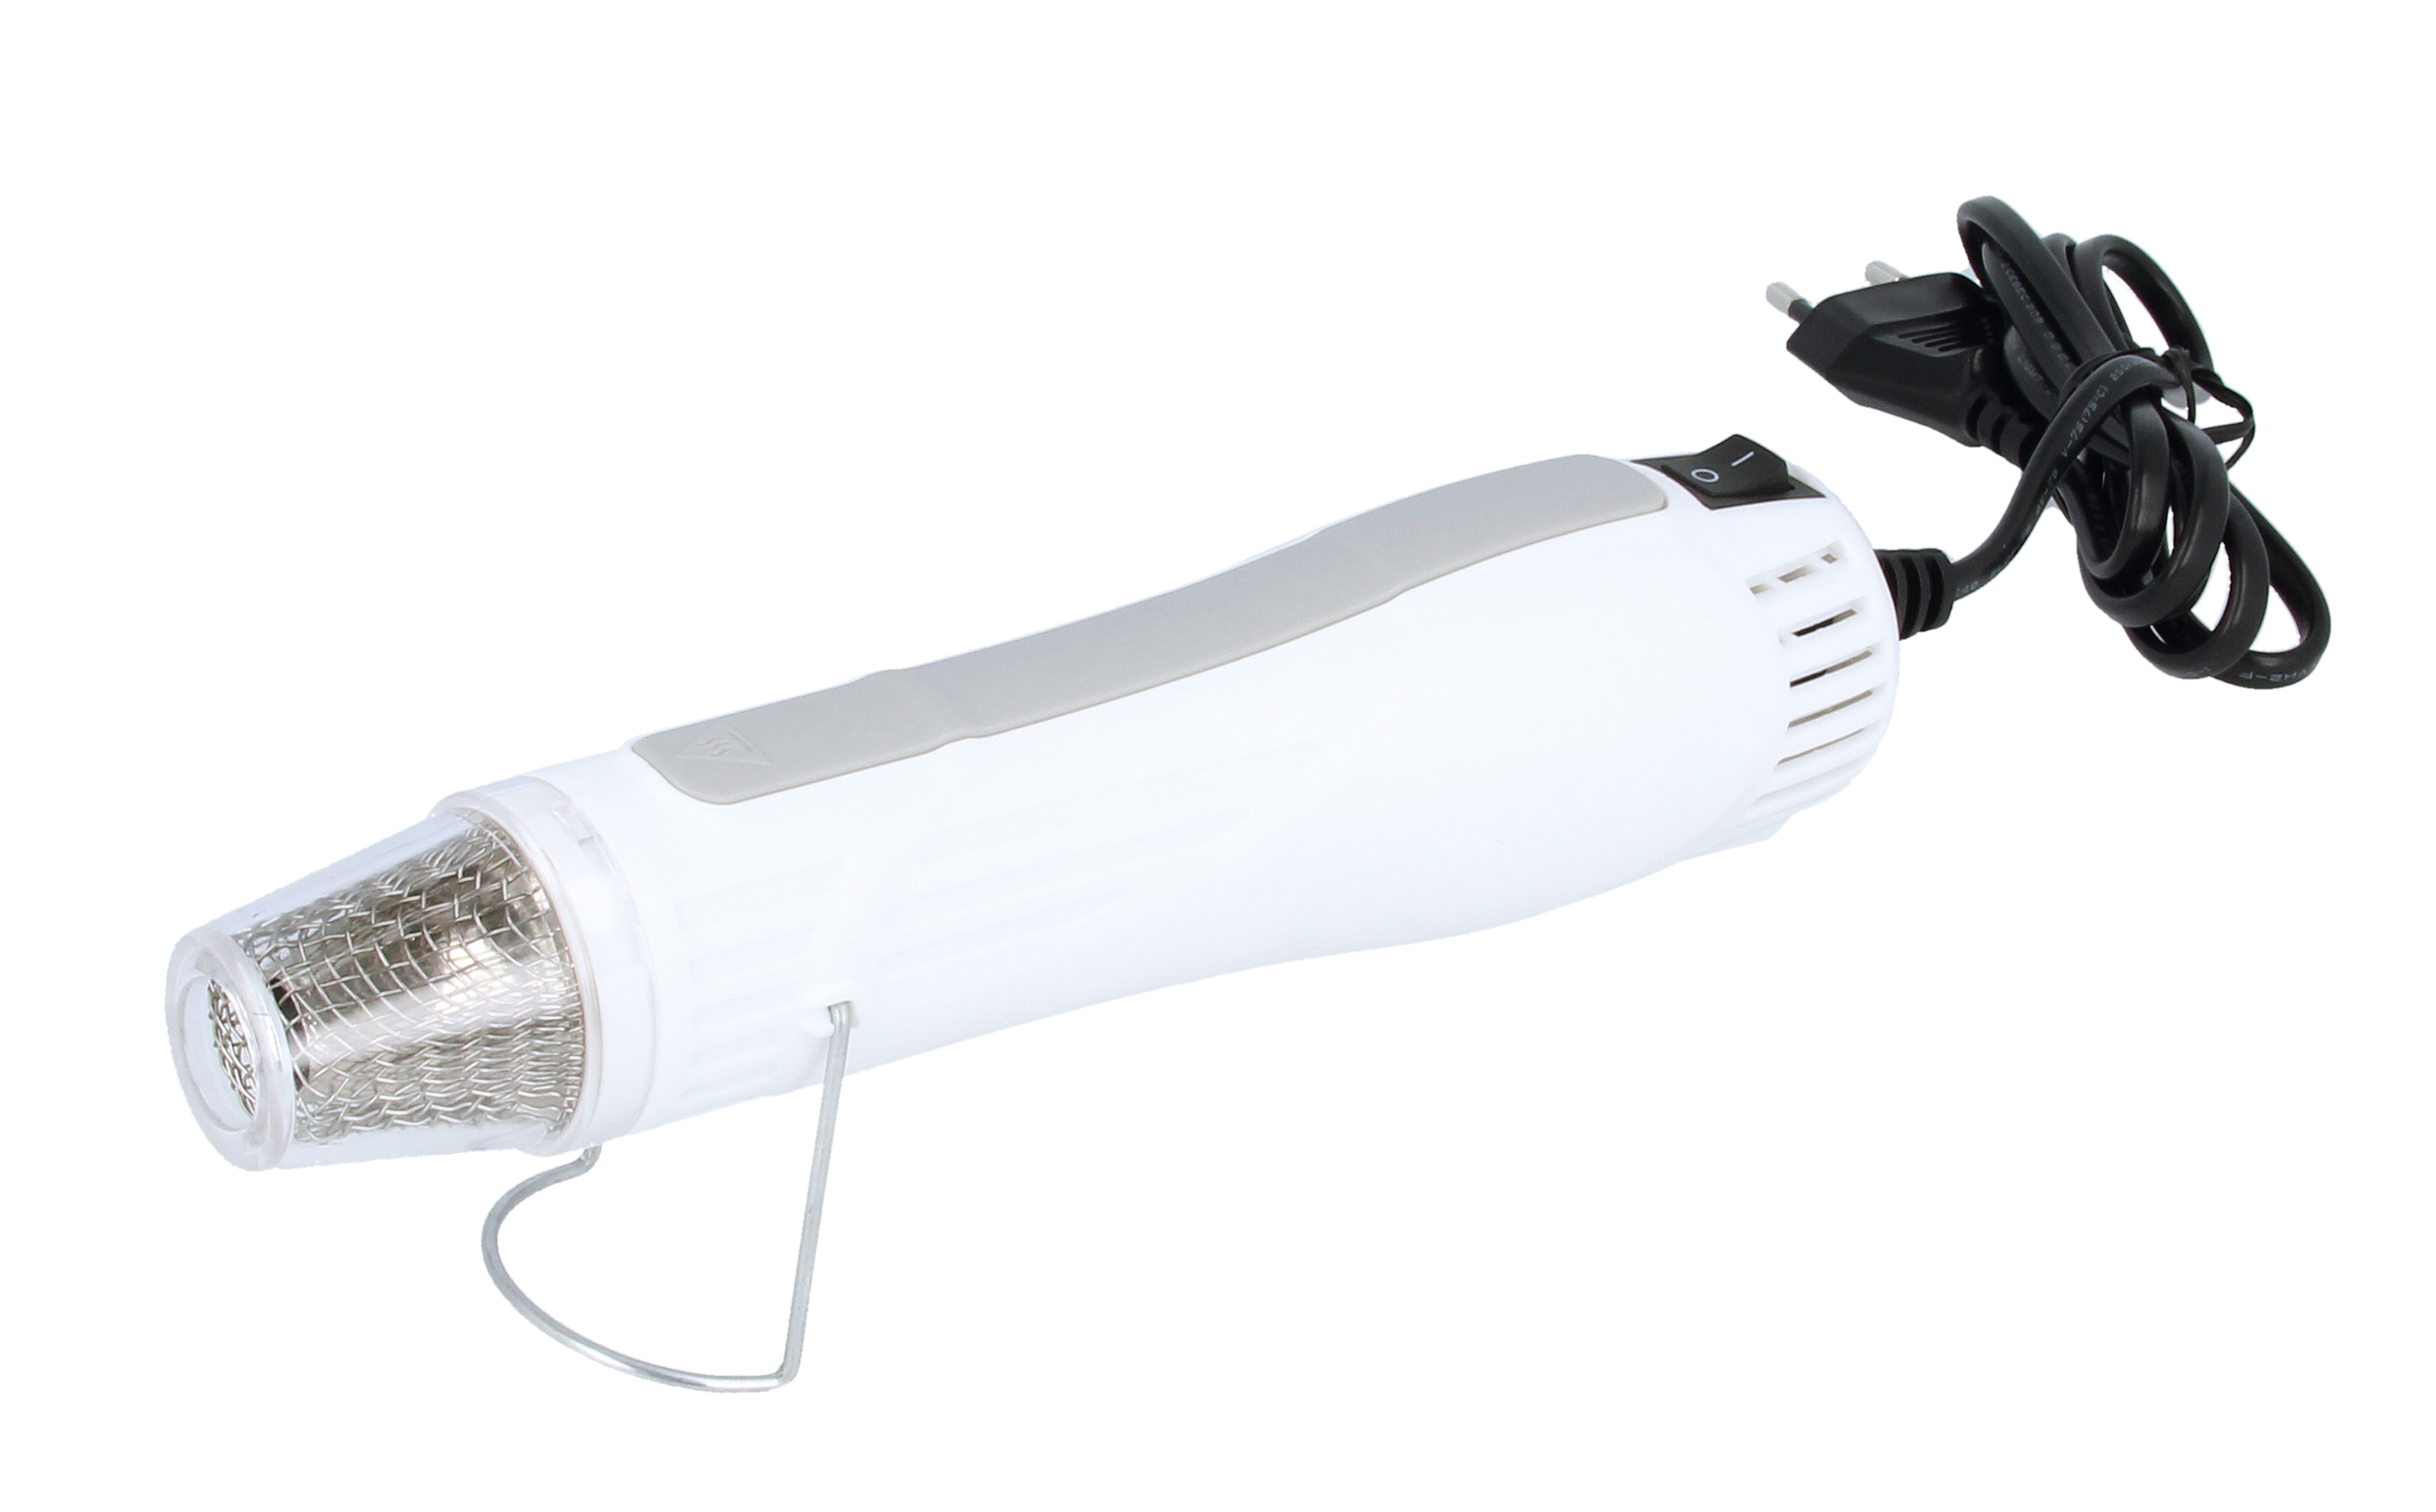
Then, one of the sentiments was added a piece of gold foil on top and passed it through a laminator. I also used foil in another sentiment but I didn't like how it turned, so I decided to change things up. I traced this sentiment with a glue pen and heat-embossed it with the HA Gold Glitter Embossing Powder.
Entonces, añadí un trozo de foil dorado a una de las frases y las pasé por la plastificadora (o laminadora). También utilicé foil en la otra frase pero no me gustó como quedó, así que decidí cambiar un poco las cosas. Tracé esta frase con un rotulador de pegamento y lo embosé con Polvos de Embossing Dorados con Purpurina.
I trimmed a little bit two pieces of colored cardstock less than a standard card - HA Mustard and HA Papaya Premium Cardstock. Later, I glued the yellow piece on a brown notecard that I made using a scoreboard and the HA Sand Premium Cardstock. I added the orange piece on top of the yellow one and then, added the elements, the pumpkin, and the sentiments. I used foam adhesive strips to add one of the sentiments.
Recorté un poco dos trozos de cartulina coloreada un poco menos que una tarjeta estándar - HA Mustard y la HA Papaya Premium Cardstock (amarilla y naranja). Luego, pegué la cartulina amarilla sobre una base de tarjeta marrón que hice utilizando una tabla de hendido y la cartulina HA Sand Premium Cardstock. Añadí la cartulina naranja sobre la de amarillo y entonces, añadí los elementos, la calabaza y las frases. Utilicé las tiras adhesivas de espuma para añadir una de las frases.
And this is the finished card! I made this card simple and I decided not to add anything else so that you can see the contrast of orange and yellow colors. I hope you like this card and see you soon!
¡Y esta es la tarjeta terminada! Hice esta tarjeta simple y decidí no ponerle nada más para poder ver el contraste de colores naranjas y amarillos. ¡Espero que les guste esta tarjeta y les veo pronto!
|









.jpg)


0 Comments