[Product links are linked at the end of the page | Enlces de productos se encuentran a final de página]
Hello friends! Today I want to share a card that I made a couple of weeks ago and there will have two cards of this kind using just a cling/rubber background. So, there are many possibilities by using just one stamp instead of having many stamps to use at one card. To get different focuses to these cards, I decided to use masking paper and Karin Brushmarkers that are very popular nowadays. Depending on what you want to focus on your card, the perspective changes. With this card, I focused more on the sentiment than the image. Let's start this card!
¡Hola a todos! Hoy quiero compartir una tarjeta que hice hace varias semanas y habrán dos tarjetas de este tipo utilizando un sello para fondos de caucho. Así que hay muchas posibilidades de utilizar solo un sello en vez de tener muchos sellos para utilizar en una tarjeta. Para obtener diferentes enfoques, decidí utilizar papel para enmascarar y los rotuladores acuarelables Karin que son muy populares hoy en día. Dependiendo en lo que quieres enfocar en tu tarjeta, la perspectiva cambia. Con esta tarjeta, enfoqué más en la frase que en la imagen. ¡Comencemos!
• Hero Arts Cling Stamp FOREST SHAPES BOLD PRINTS
 ——— https://ldli.co/e/rxqqgr [ SSS ]
 ——— https://ldli.co/e/oy99qq [ SBC ]
 ——— https://ldli.co/e/le11qo [ HA ]

• Hero Arts Stamp and Cuts XL HAPPY THANKS Set
 ——— https://ldli.co/e/ynqq5q [ SSS ]
 ——— https://ldli.co/e/ppkky9 [ HA ]
 ——— https://ldli.co/e/rxqqee [ SBC ]
First of all, I used the HA Forest Shapes Bold Prints. Then, I picked a piece of Arches watercolor paper since I was going to use watercolor markers. I added this piece in the MISTI Stamping Tool and stamped the image several times using colorless ink, the HA Contour ink. I did not remove the stamp from the MISTI Stamping Tool. Later, I die cut a piece of Masking Paper with some circle dies from the HA Nesting Circle Infinity Dies. I made this card a bit different because I die cut a circle from masking paper in the upper left corner and in the right corner at the bottom. I placed the masking paper on top of the piece of watercolor paper removing the circles so that I could color them.
Primero, utilicé el sello de caucho HA Forest Shapes Bold Prints. Entonces, escogí una trozo de cartulina de acuarelas Arches ya que iba a utilizar rotuladores acuarelables. Añadí esta pieza en la Herramienta de Estampación MISTI y estampé la imagen varias veces utilizando una tinta incolora, HA Contour ink. No quité el sello de la MISTI. Luego, troquelé un trozo de papel de enmascarar con algunos círculos del set de troqueles HA Nesting Circle Infinity Dies. Hice esta tarjeta un poco diferente porque troquelé un círculo en el papel de enmascarar en la esquina superior izquierda y en la esquina inferior derecha. Puse el papel de enmascarar sobre el trozo de acuarela quitando los círculos para poder colorear solo esa parte.
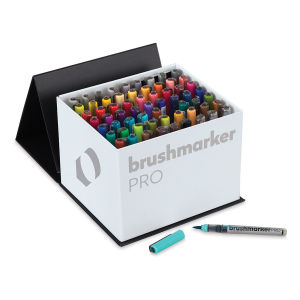
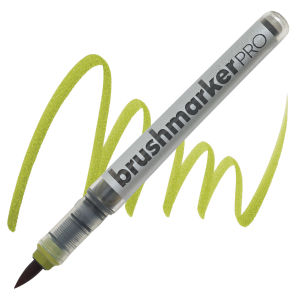
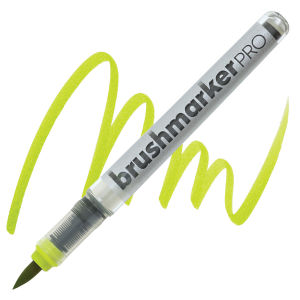
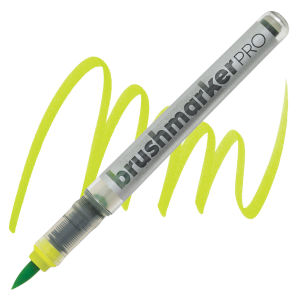
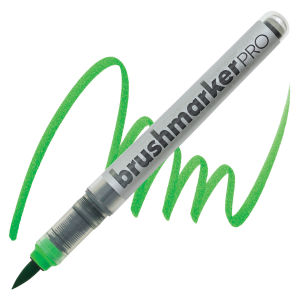
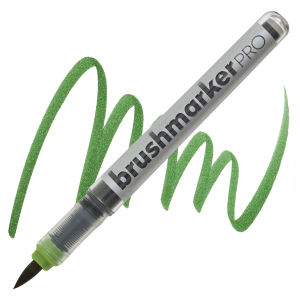
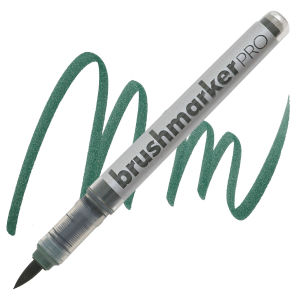
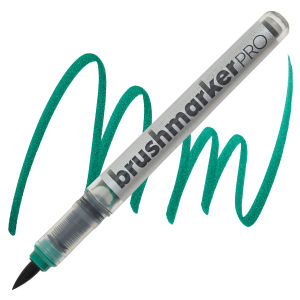
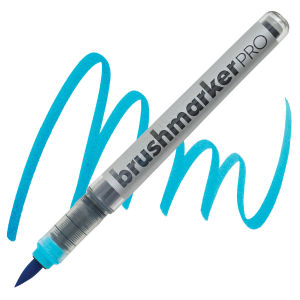
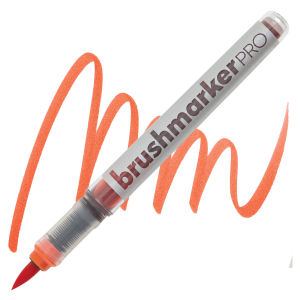
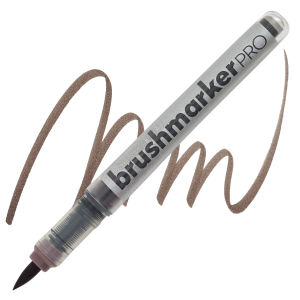
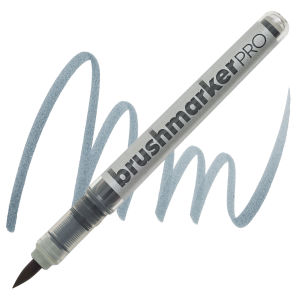
As I stamped on watercolor paper, I used the Karin Brushmarkers Markers. I used these markers and a brush to get light colors. The Karin Brushmakers that I used were 253, 210, 281, 447, 297, 071, 269, 228, 377, 213, 030, 166, 283, 621, 051.
Como estampé sobre papel de acuarela, utilicé los rotuladores acuarelables Karin. Utilicé estos rotuladors y un pincel para obtener colores más claros. Los rotuladores acuarelables Karin que utilicé fueron 253, 210, 281, 447, 297, 071, 269, 228, 377, 213, 030, 166, 283, 621, 051.
I put again the piece of watercolor to the MISTI Stamping Tool and restamped the image with Versafine Onyx Black ink and heat embossed with HA Ultra Fine Embossing Powder.
Puse nuevamente el trozo de cartulina en la Herramienta de Estampación MISTI y restampé la imagen con la tinta Versafine Onyx Black ink y embosé con los Polvos de Embossing Ultra Finos de Hero Arts.
I die cut some circles together to create a frame from the HA Nesting Circle Infinity Dies on a black cardstock piece. I glued these circle frames on top of the colored area.
Troquelé algunos círculos juntos para crear un marco utilizando el set de troqueles HA Nesting Circle Infinity Dies sobre cartulina negra. Pegué estos marcos de círculos sobre el área coloreada.
Later, I used the HA Happy Thanks Stamp & Cut XL stamp set to die cut four pieces of the word 'Thanks' on black cardstock and stuck each other with liquid glue. I glued this sentiment to the center of the card.
Más tarde, utilicé el set de sellos HA Happy Thanks Stamp & Cut XL para troquelar cuatro trozos de la palabra 'Thanks' (gracias) sobre cartulina negra y las apilé todas juntas con pegamento líquido. Pegué esta frase en el centro de la tarjeta.
Para montar esta tarjeta, recorté los lados laterales de la tarjeta y la pegué sobre una base de tarjetas de color negra. Para terminar esta tarjeta, añadí brillo en la frase y pegamento para relieve de color (NUVO Drops Blushing Red) a algunas flores para ambas áreas, áreas coloreadas y áreas no coloreadas.
And this is the card! I enjoyed very much making these cards and focusing on the perspectives of both of them. Do you want to see the other card focused on the image? See HERE. I hope you like this card and remember to subscribe to my blog and my YouTube channel!
Thanks for your support!
¡Y esta es la tarjeta! Disfruté mucho haciendo estas tarjetas y enfocándome en las perspectivas de ambas de ellas. ¿Quieren ver la otra tarjeta enfocada en la imagen? Mira AQUÍ. Espero que les haya gustado esta tarjeta y ¡recuerden subscribirse a mi blog y mi canal de YouTube!
Muchas gracias por su apoyo!
|














.jpg)
.jpg)

0 Comments