[Product in images links are posted at the end of this page | Enlaces de productos en imágenes están publicados al final de esta página]
Hello there! It's Cha here to share a Christmas card with the wonderful event of Christmas in July on the blog Joy Clair Designs. I'm so happy to share my card today with all of you. I used for today's card the Santa's Favorite Digital Set. This set is so versatile because you can create many different cards. Keep reading to know what I mean! I hope you like it too!
¡Hola a todos! Cha aquí para compartir una tarjeta para el maravilloso evento de Navidad en Julio en el blog Joy Clair Designs. Estoy muy feliz de compartir mi tarjeta hoy con todos ustedes. Utilicé para la tarjeta de hoy el set de sellos digital Santa's Favorite. Este set es muy versátil ya que puedes crear muchas muchas tarjetas diferentes. ¡Sigue leyendo para que veas a que me refiero! ¡Espero que les guste!
Featuring Product | Presentación del Producto
• Santa's Favorite Digital Set
 ——— https://ldli.co/e/ql7ddr [ JoyClair ]
As I was going to work with digital images, I've always resized them and cut them electronically with the Silhouette Studio Program. However, this time I created my own card on my computer, meaning that I created a rectangle of 4,25 by 5,5 inches and started adding the images inside in it to create a scene. Then, I just cut the rectangle electronically, using the option Print & Cut from the program but, as it is a rectangle was not necessary to cut it with the electronic machine but you can use just a trimmer.
Como iba a trabajar con imágenes digitales, siempre he las he ajustado en tamaño y cortado electrónicamente con el programa de Silhouette Studio. Sin embargo, esta vez creé mi propia tarjeta en el ordenados, es decir que creé un rectángulo de tamaño 4,25 por 5,5 pulgadas y comencé a añadir las imágenes dentro de él para crear una escena. Luego, recorté el rectángulo de manera electrónica, utilizando la opción de Print & Cut (Imprimir & Cortar) desde el programa pero, como es un rectángulo no era necesario recortarlo a máquina sino que se puede utilizar una guillotina.
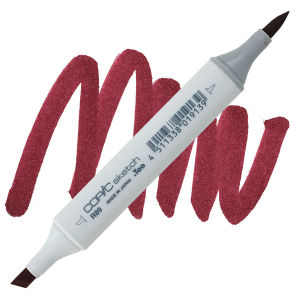
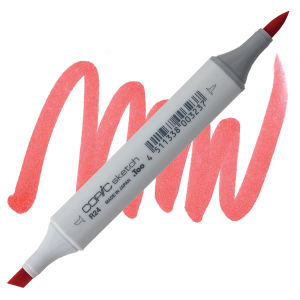
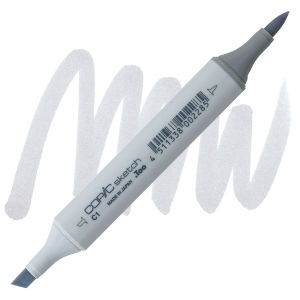
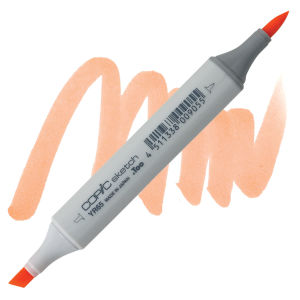
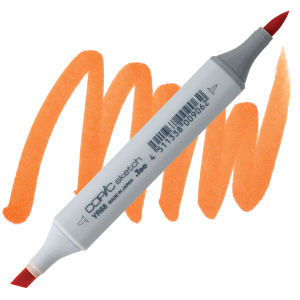
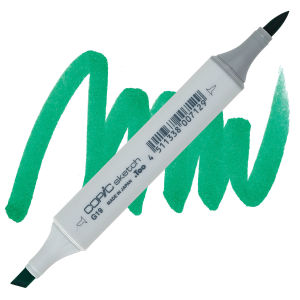
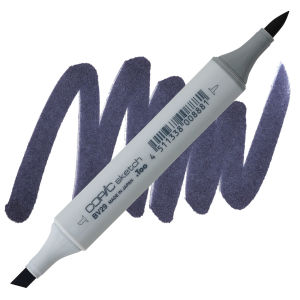
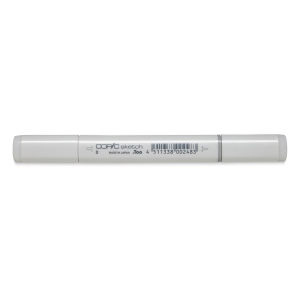
Later, I colored this card scene with my Copic Markers Sketch - G19, G28, 0, R24, R89, BV23, BV29, B00, B02, B05, B06, C00, C1, C4, C5, YR65, YR68, and gave it some dimension to the snow adding some dots with a white gel pen, Sakura white gel pens number 5 and 10. I also added some shimmer to the images with the Sakura Stardust pen and some dimensions with the Glossy Accents to the nose of the penguin. Besides, I colored the eyes of the penguin with the Sakura Glaze pen.
Más tarde, coloreé esta escena con mis Rotuladores Copic Sketch - G19, G28, 0, R24, R89, BV23, BV29, B00, B02, B05, B06, C00, C1, C4, C5, YR65, YR68, y le di algo de relieve a la nieve añadiendo algunos puntos con un rotulador de gel, Sakura número 5 y 10. También añadí un poco de brillo a las imágenes con el rotulador Sakura Stardust y relieve a la nariz de la imagen con el Glossy Accents. Además, coloreé los ojos del pingüino con el rotulador Sakura Glaze que da un poquito de relieve.
Finalmente, añadí al panel a una base de tarjeta de color negro que había creado anteriormente con la cartulina HA Pitch Black cardstock y coloreé los laterales de la frase con negro y la añadí a la tarjeta con cinta adhesiva de espuma.
I also created another card using the snowflake that came with this set. I created a bunch of these snowflakes, some of them were printed and others were cut. Those that were printed, I foiled them in silver foil and the others just kept them white. Look at this card! It's so beautiful!
También creé otra tarjeta utilizando el copo de nieve que vino con este set. Creé un montón de estos copos de nieve, algunos de ellos los imprimí y otros solamente los recorté. Aquellos que había impreso, les añadí foil plata y otros simplemente los dejé en color blanco. ¡Miren esta tarjeta! ¡Que bonita es!
Espero que les haya gustado estas tarjetas y ¡hasta pronto!
|











.jpg)


0 Comments