[Link products are listed at the end of the page | Enlaces a productos se encuentran al final de la página]
Hello there! It's me, Cha! Today I wanted to say hello to the spring season for this 2021 using again the My Monthly Hero kit January 21 from Hero Arts. I love this kit so much that I wanted to color the flowers that came with the kit with Copic Markers. Before starting showing you this beautiful card, I must say that I'm not an expert in copic, I just took a course on Sandy Allnock's website (see HERE) that I really enjoyed and learnt a lot!! but I have to practise a lot due to I do not have enough time to practise. Remember that this kit is not available anymore but you can find many different stamps similar to this set on the market.
¡Hola a todos! Soy Cha. Hoy quise dar la bienvenida a la primavera de este 2021 utilizando nuevamente el kit de Hero Arts del mes de Enero 2021. Me encanta este kit mucho y quise colorear las flores que vinieron con el kit utilizando los rotuladores Copic. Antes de comenzar a enseñar esta bonita tarjeta, me gustaría decir que no soy una experta en Copic, simplemente realicé un curso en la página web de Sandy Allnock (mira AQUÍ) que, realmente, ¡¡disfruté y aprendí muchísimo!! pero tengo que practicar mucho más ya que no tengo tiempo suficiente para ello. Recuerden que este kit ya no está disponible pero pueden encontrar muchos set de sellos similares a este.
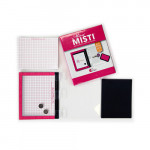
First of all, I picked a piece of white cardstock, Neenah Solar White 80 lb. I put this piece in my MISTI Stamping Tool to stamp several times to get a crisp image. I adhered the piece with temporarily adhesive to avoid this piece to be moved. I placed the stamp in the MISTI tool and stamped it with HA Instense Black Ink. I colored the flowers, leaves and the background with Copic Sketch Markers:
Primero, elegí un trozo de cartulina blanca, la Neenah Solar White 80 lb. La puse en la Herramienta de Estampación MISTI para estampar varias veces y conseguir una imagen más definida. Adherí esta pieza con adhesivo temporal para evitar que se moviera. Posicioné el set de sellos en la Herramienta MISTI y la estampé con la tinta HA Intense Black Ink. Coloreé las flores, las hojas y el fondo con Rotuladores Copic Sketch:
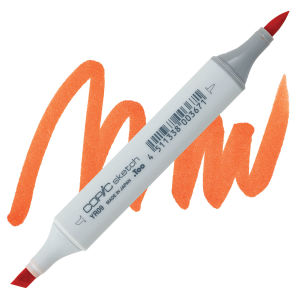
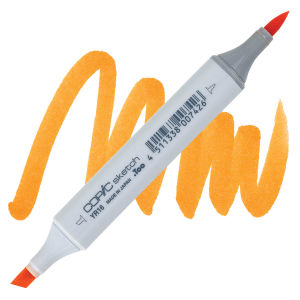
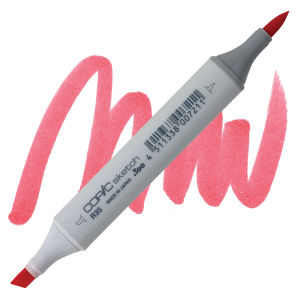
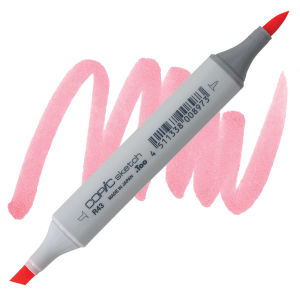
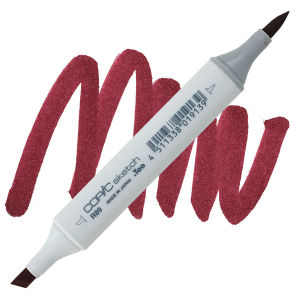
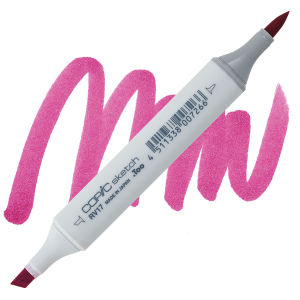
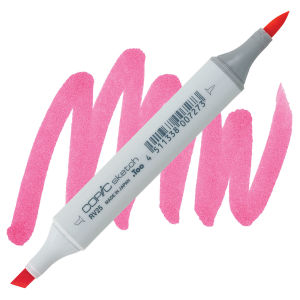
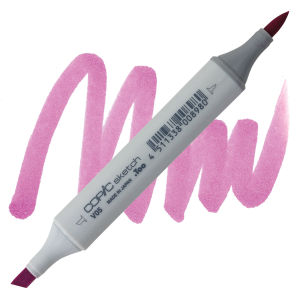
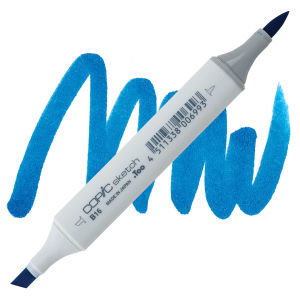
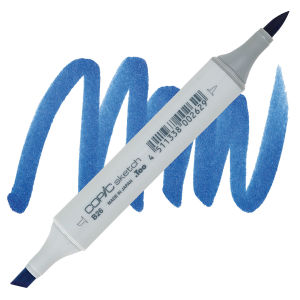
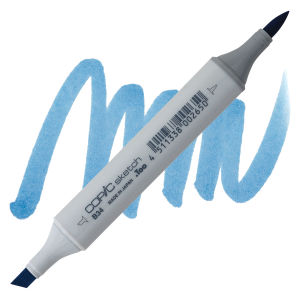
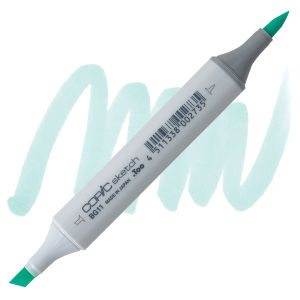
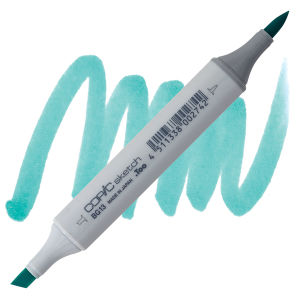
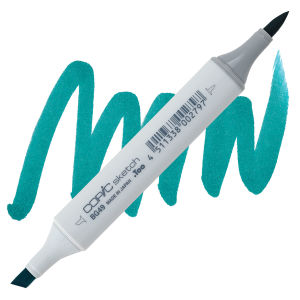
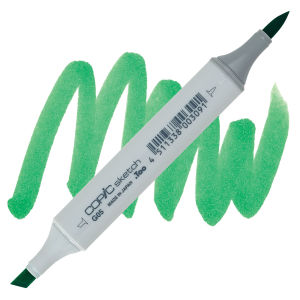
Flowers | Flores: RV17, V05, RV25, R27, R35, R43, R46, R89, YR09, YR16, YR18, BG11, BG13, BG49, B16, B26, FV2.
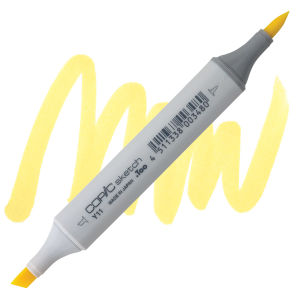
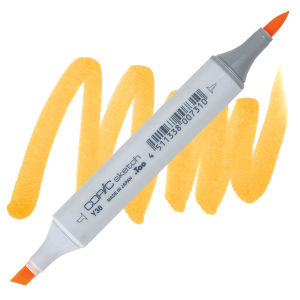
Then, I stamped two little bees that also came with the kit. I colored these bees with Copic Sketch Markers, too: B000, Y11, Y38. Besides, I colored around these bees with B95. Finally, I used my Sidekick Die Cutting Machine Mini to die cut these images.
Luego estampé las dos pequeñas abejas que vinieron con este kit. También coloreé estas abejas con Rotuladores Copic Sketch: B000, Y11, Y38. Además coloreé alrededor de estas abejas con B95. Finalmente, utilicé la Troqueladora Sidekick pequeña para troquelar estas imágenes.
Later, I stamped the sentiment directly to the background that I'd colored before. I used the Mini MISTI Stamping tool because I wanted a bold and crisp sentiment here. I stamped the sentiment that came with the kit with Versamark Ink and heat embossed with HA White Embossing Powder. I repeated this process twice.
Más tarde estampé la frase directamente en el fondo que había coloreado anteriormente. Utilicé la Herramienta de Estampación Mini MISTI porque quise estampar la frase definida y llamativa. Estampé la frase que vino con el kit con la tinta Versamark ink y repujé con los Polvos de Embossing Blancos de Hero Arts. Repetí este proceso dos veces.
To mount this card, I trimmed the sides off a little bit using a trimmer. Then, I picked a piece of HA Plum Premium Cardstock that I'd previously trimmed to a 4,25 by 5,5 inches. I glued the panel on top of this piece and added the whole piece to a white notecard. Later, I added some white dots to the flowers and colored the centre of some of the flowers with a yellow marker (Y11). Then, I added the bees with foam circles. Also, I added some iridescent sequins and clear bubbles sequins to the background.
Para montar esta tarjeta, recorté los laterales un poco utilizando una cizalla. Después, escogí una pieza de cartulina color ciruela, HA Plum Premium Cardstock que previamente había recortado a 4,25 por 5,5 pulgadas. Pegué el panel sobre esta pieza y añadí la pieza entera a una base de tarjeta blanca. Luego añadí algunos puntos blancos en las flores y coloreé el centro de algunas de las flores con un rotulador amarillo (Y11). Más tarde, añadí las abejas con círculos de espuma adhesivos. Además, añadí algunas lentejuelas iridiscentes y algunas lentejuelas de burbujas transparentes al fondo.
And this is the card! Do you love spring season? I love it! I hope you like this card! Remember that you can also watch my video and if you like my cards and videos, don't forget to subscribe and give me likes (I'd appreciate it 😄!)
¡Y esta es la tarjeta! ¿Les gusta la primavera? ¡Me encanta! Espero que les guste esta tarjeta. Recuerden que pueden ver mi vídeo y si les gusta mis tarjetas y vídeos, no olviden subscribirse y darme algunos "likes" (¡lo apreciaría 😄!).
Thank you so much for stopping by!
¡Muchas gracias por pasarte por aquí!
|















.jpg)


1 Comments
Marisela Delgado said: Hola, mi amiga! Te salio hermosa! Un abrazo fuerte! Mari
ReplyDelete