[Product links are listed at the end of the page | Enlaces a productos se encuentran a final de página]
Hello there! It's me, Cha! Today I wanted to show you a card that I made a while ago. For this card, I used the My Monthly Hero kit July 2020 from Hero Arts. I really love this kit because you can create a scene of the lost city of Atlantis using layering stamps. Layering stamps allow us to create realistic scenes, in this case, is a scene from the bottom of the ocean. I hope you enjoy it!
¡Hola a todos! Soy Cha. Quise enseñarles una tarjeta que hice hace algún tiempo. Para esta tarjeta, utilicé el kit de Hero Arts de Julio 2020, My Monthly Hero kit. Me encanta este kit porque puedes crear una escena de la ciudad perdida de Atlantis utilizando sellos en capas. Los sellos en campas nos permiten crear imágenes realistas, en este caso del fondo del océano. ¡Espero que les guste!
First, I wanted to say that the My Monthly Hero kit July 20 is still available! Now it's the moment to create the card! I stamped all the layering stamps from the main kit using some different Hero Arts inks. I used the MISTI Stamping Tool (there is a new version of it!) to stamp the layering images precisely. I also used Hero Arts Dove White Premium Cardstock. I put this piece of white cardstock inside the MISTI and placed the first layer of the stamps from the main kit. I stamped this first layer with HA Aegean Bold ink several times. Then, I moved to the second layer that I stamped with HA Bubble Gum Shadow ink and HA Raspberry Jam Shadow ink. Finally, I stamped the last layer with HA Lemon Yellow Shadow ink and HA Butter Bar Shadow ink.
Primero, quiero decir que el kit de Hero Arts del mes de julio de 2020 todavía está disponible. Ahora sí, ¡comencemos a crear! Estampé todos los sellos en capas del kit principal utilizando diferentes tintas de Hero Arts. Utilicé la Herramienta para Estampar MISTI (¡hay una nueva versión mejorada!) que sirve para estampar las imágenes en capa de una manera más precisa. También utilicé cartulina blanca, HA Dove White Premium Cardstock. Puse un trozo de esta cartulina en la MISTI y coloqué la primera capa de sellos del kit. Estampé esta primera capa en tonos turquesas, con la tinta HA Aegean Bold ink varias veces. Luego cambié a la segunda capa que estampé con tonos rosados, con las tintas HA Bubble Gum Shadow ink y la tinta HA Raspberry Jam Shadow ink. Finalmente, estampé la última capa del sello con tonos amarillos, primero con la tinta HA Lemon Yellow Shadow ink y HA Butter Bar Shadow ink.
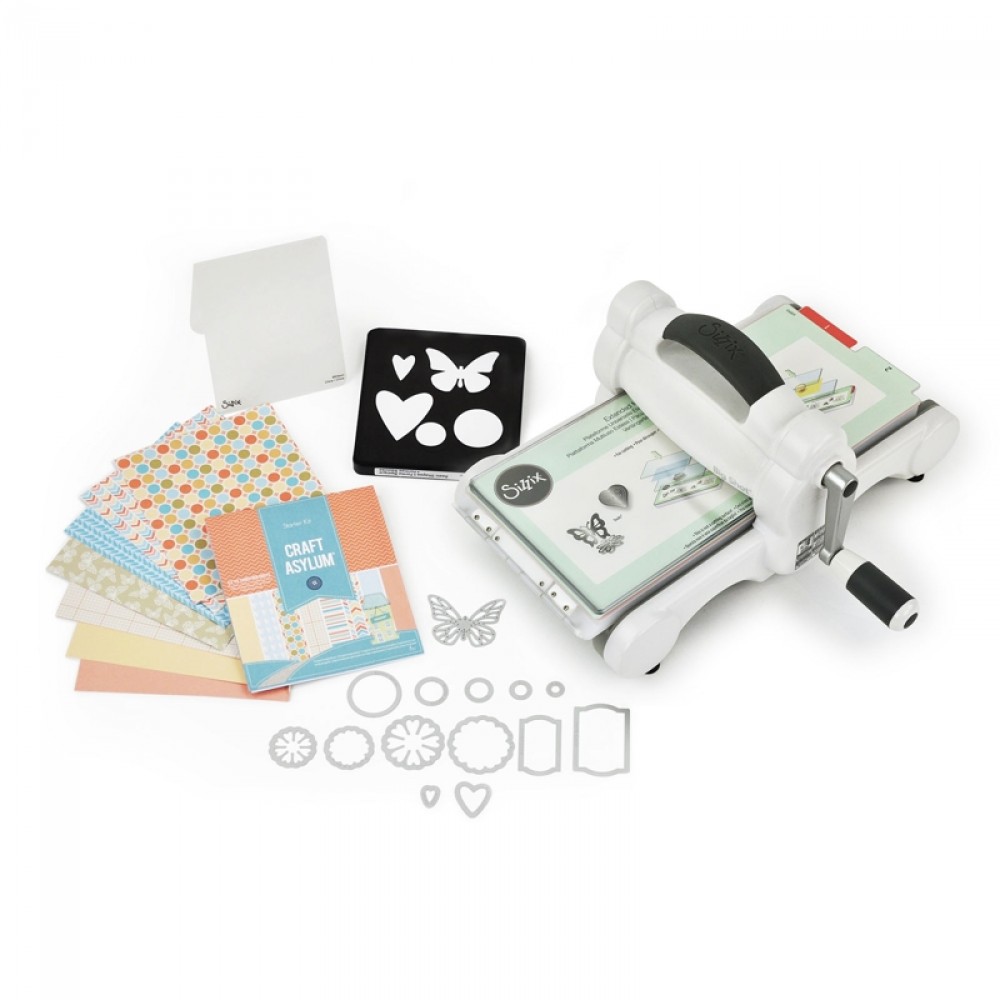
Later, I also stamped several images from the kit. I stamped a ruined building with HA Emerald Green Shadow ink, a small seahorse with HA Butter Bar Shadow ink, and HA Orange Soda Shadow ink, some dolphins were stamped with HA Soft Granite Shadow ink and HA Charcoal Shadow ink, some fishes with HA Soft Lilac Shadow ink and HA Grape Juice Shadow ink. Finally, I stamped a crab with HA Crimson Bold ink and HA Red Royal Shadow ink. I die-cut all the images using the coordinating dies and, also, the corals and the bottom of the ocean that I'd stamped previously. I used the Sizzix Big Shot Die-Cutting Machine to die-cut all my images.
Más tarde, estampé diferentes imágenes que venían con el kit también. Estampé el edificio en ruinas con la tinta HA Emerald Green Shadow ink, un pequeño caballito de mar con las tintas HA Butter Bar Shadow ink y HA Orange Soda Shadow ink, algunos delfines los estampé con las tintas HA Granite Shadow ink y HA Charcoal Shadow ink, algunos pececitos con las tintas HA Soft Lilac Shadow ink y HA Grape Juice Shadow ink. Finalmente, estampé un cangrejo con las tintas HA Crimson Bold ink y HA Red Royal Shadow ink. Troquelé todas las imágenes utilizando los troqueles coordinados, y también los corales y el fondo del océano que había estampado previamente. Utilicé la troqueladora manual Sizzix Big Shot para troquelar todas las imágenes.
To create the background, I picked a piece of HA Arctic Premium Cardstock and stamped some bubbles with HA Navy Shadow ink and HA Deep Ocean Bold ink. So, I decided to create something behind the forefront, so I die cut some more ruins on HA Vellum with a fancy die that came with the kit. I glued this piece to the background. I also created a little piece of HA Nautical Premium Cardstock and adhered this to the bottom of the card. Then, I adhered the piece of the bottom of the ocean that we had created to the panel but temporarily with a temporarily adhesive, just to glue the ruined building. I trimmed the sides a little bit and added the bottom of the sea with foam tape in order to create some dimension. I also glued the fishes and the crab here and there.
Para crear el fondo, elegí un trozo de cartulina azulada, HA Arctic Premium Cardstock y estampé algunas burbujas con las tintas HA Navy Shadow ink y HA Deep Ocean Bold ink. Así que decidí crear algo detrás de la imagen principal, así que troquelé algunas ruinas en Vellum (papel parecido al papel vegetal pero con más gramaje) con un troquel definido que venía también con el kit. Pegué este trozo en el fondo. También creé una pequeña pieza de cartulina HA Nautical Premium Cardstock y la adherí a la parte inferior de la tarjeta. Entonces pegué el fondo del mar que habíamos creado pero utilizando un adhesivo temporal, solamente para pegar el edificio en ruinas. Recorté los laterales un poco y añadí el fondo del mar con cinta de espuma para crear relieve. También pegué algunos peces y el cangrejo.
For the sentiment, I stamped one word with HA Navy Shadow ink and a second word with Versafine Onyx Black ink.
Para la frase, estampé una palabra con la tinta HA Navy Shadow ink y una segunda palabra con la tinta Versafine Onyx Black ink.
I mounted the panel on a standard piece of Nautical notecard that I scored myself using a scoreboard, and I glued a white panel on the inside to write the message on it.
Para montar la tarjeta, añadí el panel a una base de tarjeta estándar de color azul náutico que hice yo misma utilizando una tabla de hendido, y pegué otro panel de color blanco en el interior para así poder escribir el mensaje.
Finally, I added some sequins here and there. Some clear dots to the bubbles to the background using Glossy Accents and some shimmer with the NUVO aqua shimmer pen to some of the images. I also drew some eyes to the little fishes using a fine black pen.
Finalmente, añadí algunas lentejuelas aquí y allí. Algunos puntos claros sobre las burbujas del fondo utilizando el Glossy Accents y algo de brillo con el NUVO aqua shimmer pen a algunas imágenes. También dibujé algunos ojitos a los pececitos con un rotulador fino de color negro.
I hope you like this colorful sea scene and see you soon!
Espero que les haya gustado esta escena colorida del mar y ¡hasta pronto!
|


.jpg)


0 Comments