[Product links are listed down below the page | Enlaces a productos se encuentran alistados a final de página]
Hello there! It's me, Cha! I'm up at the A Blog Named Hero to show you my card for this month's challenge that it's going to end in a few days. I decided to create a card using the My Monthly Hero kit from January 2019. This kit is sold out but I will give you some options that will help you to create a card like this. Keep reading to see the complete card!
¡Hola a todos! Soy Cha. Estoy en el blog A Blog Named Hero para mostrarles mi tarjeta para este reto de este mes que finalizará en unos días. Decidí crear una tarjeta utilizando el kit de Hero Arts correspondiente al mes de Enero 2019. Este kit ya está agotado pero les daré algunas opciones que te ayudarán a crear una tarjeta como esta. ¡Continua leyendo para ver la tarjeta completa!
I wanted to stamp some plants and flowers that will be seen through a window. So, I had to create a window mask in order to color the wall around that window, first.
Quise estampar algunas plantas y flowers que serán vistas a través de una ventana. Así que tuve que crear una máscara para la ventana para poder colorear la pared alrededor de esta ventana primero.
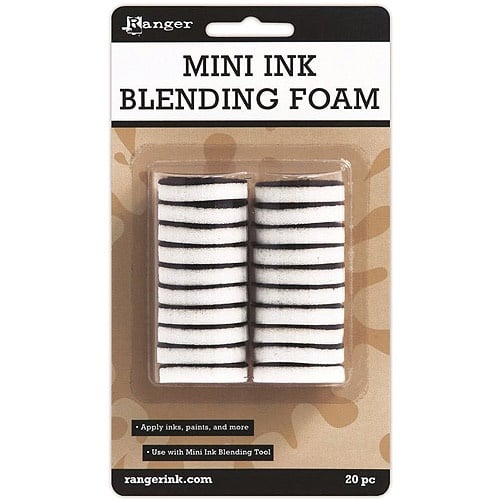
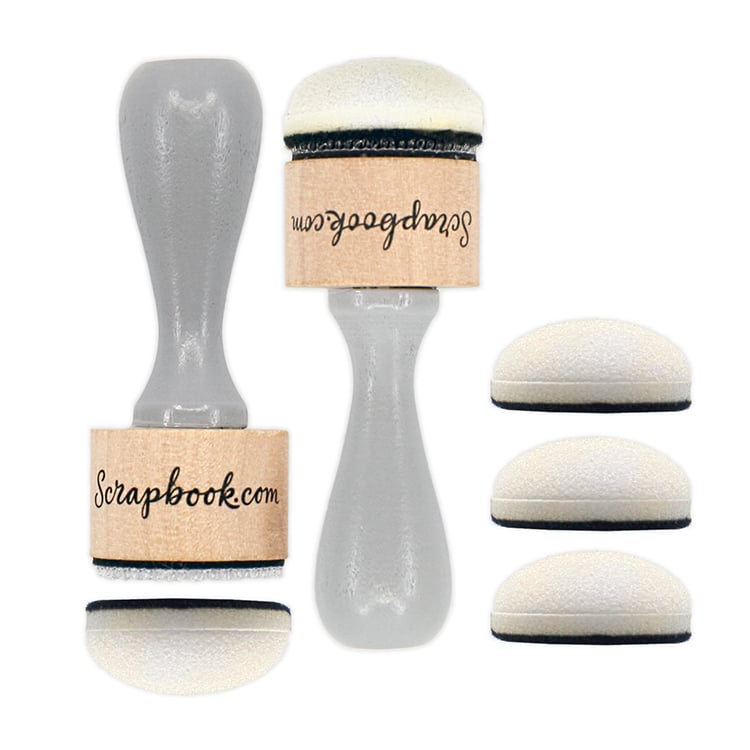
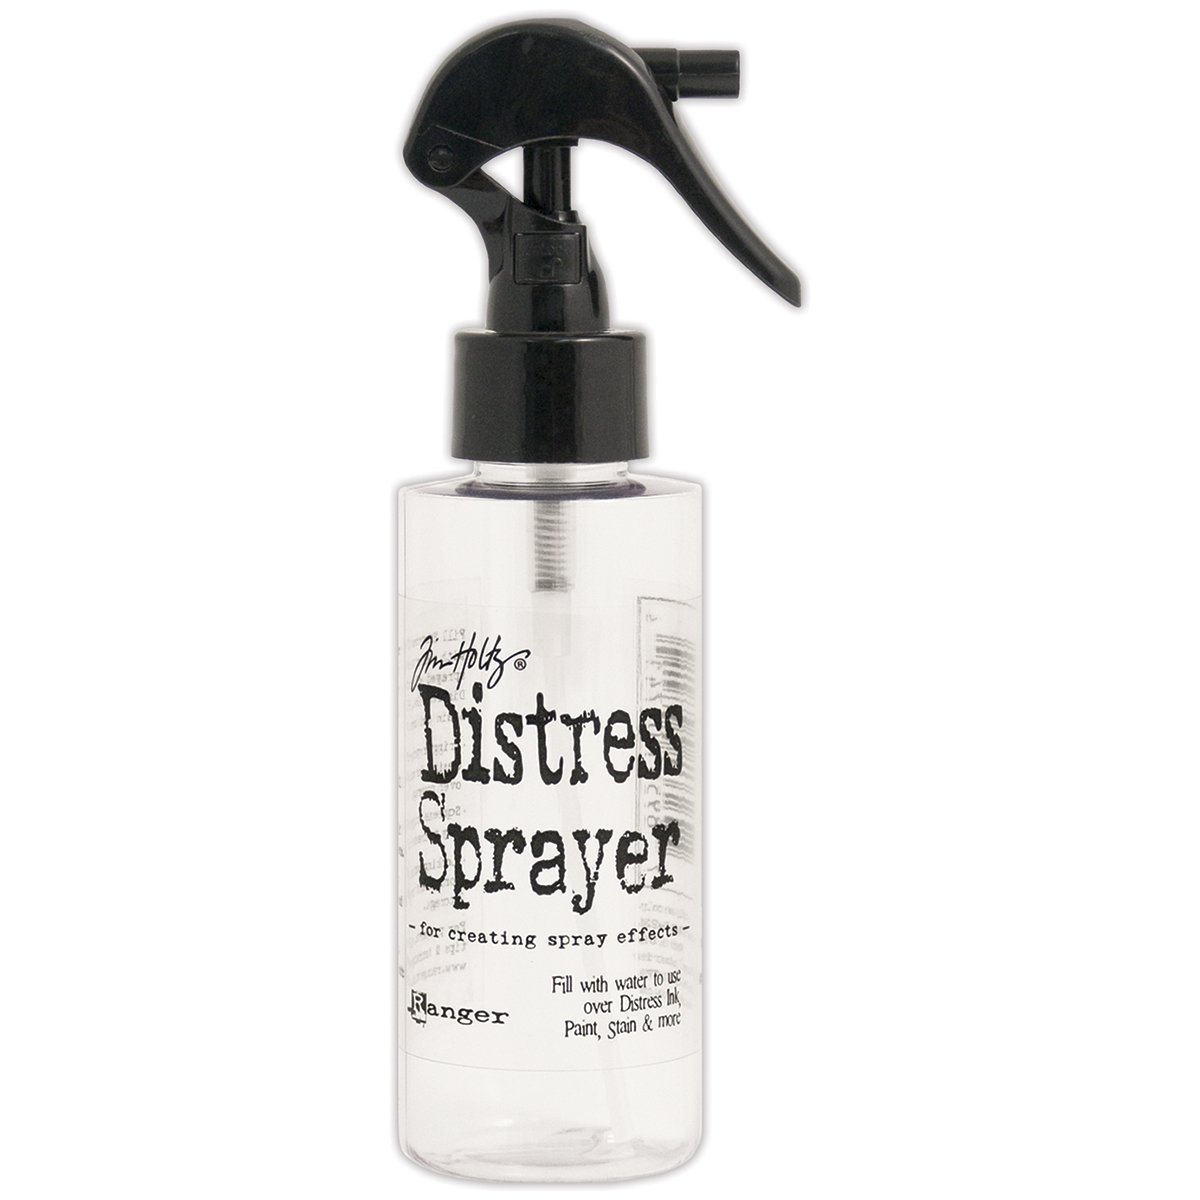
Once I had the masks that I die cut from the Ballroom Fancy Die Set, I added the positive part just right to the center of the card panel in order to color the background. I used an Ink Blending Tool for adding Aged Mahogany Distress Oxide Ink. Then, I picked a Brick Stencil that I have from my stash and put it on top using Fired Brick Distress Oxide Ink. I sprayed some water to give an oldish look.
Una vez que tenía todas las máscaras que troquelé del Troquel Ballroom Fancy Die Set, añadí la parte positiva justo en el centro de la tarjeta para colorear el fondo. Utilicé un Aplicador de Tinta para añadir la tinta Aged Mahogany Distress Oxide Ink. Luego elegí un stencil (o máscara) de mis materiales y lo puse sobre la tarjeta para añadir la tinta Fired Brick Distress Oxide. Rocié con agua para darle un toque viejo o antiguo.
I removed the mask from the center and added the negative part right to the gap that I had in the middle of the card. I also added the mask of the frame of that ballroom window and fit in the gap of the window. I stamped the images from the My Monthly Hero Kit from January 2019 (Stamp sets similar to this set are found HERE and HERE). As I needed to mask these images to continue stamping, I decided to mask the images using their Frame Cuts or Coordinating Dies (See HERE and HERE). I stamped the images using the Hero Arts Intense Black Ink (or you can use the Hero Arts Intens-ified Black ink). When I finished stamping all the images, the card would be something like this:
Quité las máscaras de enmascarado del centro de la tarjeta y añadí la parte negativa en el centro, justo en el huevo que hice en el medio de la tarjeta. También añadí el papel de enmascarado para el marco de la ventana y la ajusté en el hueco de la ventana. Estampé las imágenes del kit My Monthly Hero kit de Enero 2019 (Mira AQUÍ y AQUÍ para ver set de sellos parecidos a estos). Como necesitaba máscaras para enmascarar estas imágenes para continuar estampando los sellos, decidí enmascarar las imágenes utilizando los Troqueles Coordinados de esas imágenes (Mira AQUÍ y AQUÍ). Estampé las imágenes utilizando la tinta Hero Arts Intense Black Ink (o pueden utilizar la tinta Hero Arts Intens-ified Black Ink). Cuando terminé de estampar todas las imágenes, la tarjeta sería algo así:
I removed all the little masked images (not the mask of the window frame) and I decided to draw the lines with a black pen to complete the images that I masked. Look at the following picture:
Quité el papel de enmascarar de las imágenes (no la máscara del marco de la ventana) y decidí dibujar las líneas con un rotulador negro para completar las imágenes que enmascaré. Mira en la siguiente foto:
So, at this point I had all my flowers and plants stamped, it was the time to color them. I used Copic Sketch Markers:
Así que en este punto tenía todas mis flores y plantas estampadas, era el momento para colorearlas. Utilicé los rotuladores Copic Sketch:
- Flowers | Flores: R89, R46, R27, RV29, RV14, BV08, BV13, BV02, Y02, Y19, Y11
- Plants and leaves | Plantas y Hojas: G21, G05, G14, YG97, BG18
- Pots | Macetas: E11, E15, E18, E79, C7, C1, C4, W7, W4
- Window glass | Cristal de la Ventana: B24, B000
I gave the images a little of interest adding some black and white dots around them. Also, I added some shimmer to the flowers and plants and let the card dry. Later, I removed the last mask piece (the window frame) and I realized that some Copic Markers went through to the mask paper. I fixed coloring the frame with a White Gel Pen.
Dí a las imágenes un poco de interés añadiéndoles puntos negros y blancos alrededor de cada una de ellas. También añadí brillo a las flores y a las plantas y las dejé secar. Más tarde quité el último enmascarado (el marco de la ventana) y me dí cuenta que algunos rotuladores Copic traspasaron el papel de enmascarar. Lo arreglé coloreando el marco con un Rotulador de Gel Blanco.
For the sentiment for this card, I stamped the sentiment from the same kit (see HERE for a similar set) with Versamark ink and heat embossed with White Embossing Powder. I used my Mini MISTI for stamping all the sentiments. Then, I picked another sentiment and stamped with Versafine Onyx Black Ink and heat embossed with Ultra Fine Embossing Powder.
Para la frase de esta tarjeta, estampé la frase del mismo set (mira AQUÍ para ver un set parecido) con la tinta Versamark ink y repujé (realicé embossing) con Polvos de Embossing Blancos. Utilicé la Herramienta Mini MISTI para estampar las frases. Luego elegí otra frase y la estampé con la tinta Versafine Onyx Black Ink y repujé con Polvos de Embossing Ultra Fine (claros o transparentes).
For some final touches, I added some red heart embellishments to the card. I also added some gold dots to the center of the flowers.
Para detalles finales, añadí algunos corazones decorativos en la tarjeta. Además añadí algunos puntos dorados al centro de las flowers.
I hope you like this card and remember that you can join in this first challenge of the year 2020 at A Blog Named Hero by posting a card using Hero Arts products!
Espero que les haya gustado la tarjeta y ¡recuerden que pueden participar en el primer reto de este nuevo año 2020 en A Blog Named Hero publicando una tarjeta utilizando productos de Hero Arts!
Thank you so much for stopping by!
¡Gracias por pasarte por aquí!

|











.jpg)


1 Comments
Gorgeous window card Cha
ReplyDelete