[Product links are listed at the end of the page | Enlaces a productos están alistados a final de página]
Hello there! It's me, Cha! Today starts a new challenge at A Blog Named Hero, so... make cards with too much glitter and share them with us to the blog along this month until January,10th. You could be the winner and get some gift certificates!
¡Hola a todos! Soy Cha. Hoy comenzamos un nuevo reto en el blog A Blog Named Hero, así que...creen sus tarjetas con mucha purpurina y compártanlas con nosotros en el blog durante este mes hasta el 10 de enero. ¡Tú podrías ser el ganador o la ganadora para ganar un cupón de regalo!
For this challenge, I've created three cards but I'm going to explain the creative process of one of them because the process is the same for all of the cards.
Para este reto, he creado tres tarjetas pero les hablaré del proceso creativo de una de ellas ya que el proceso es el mismo para todas.
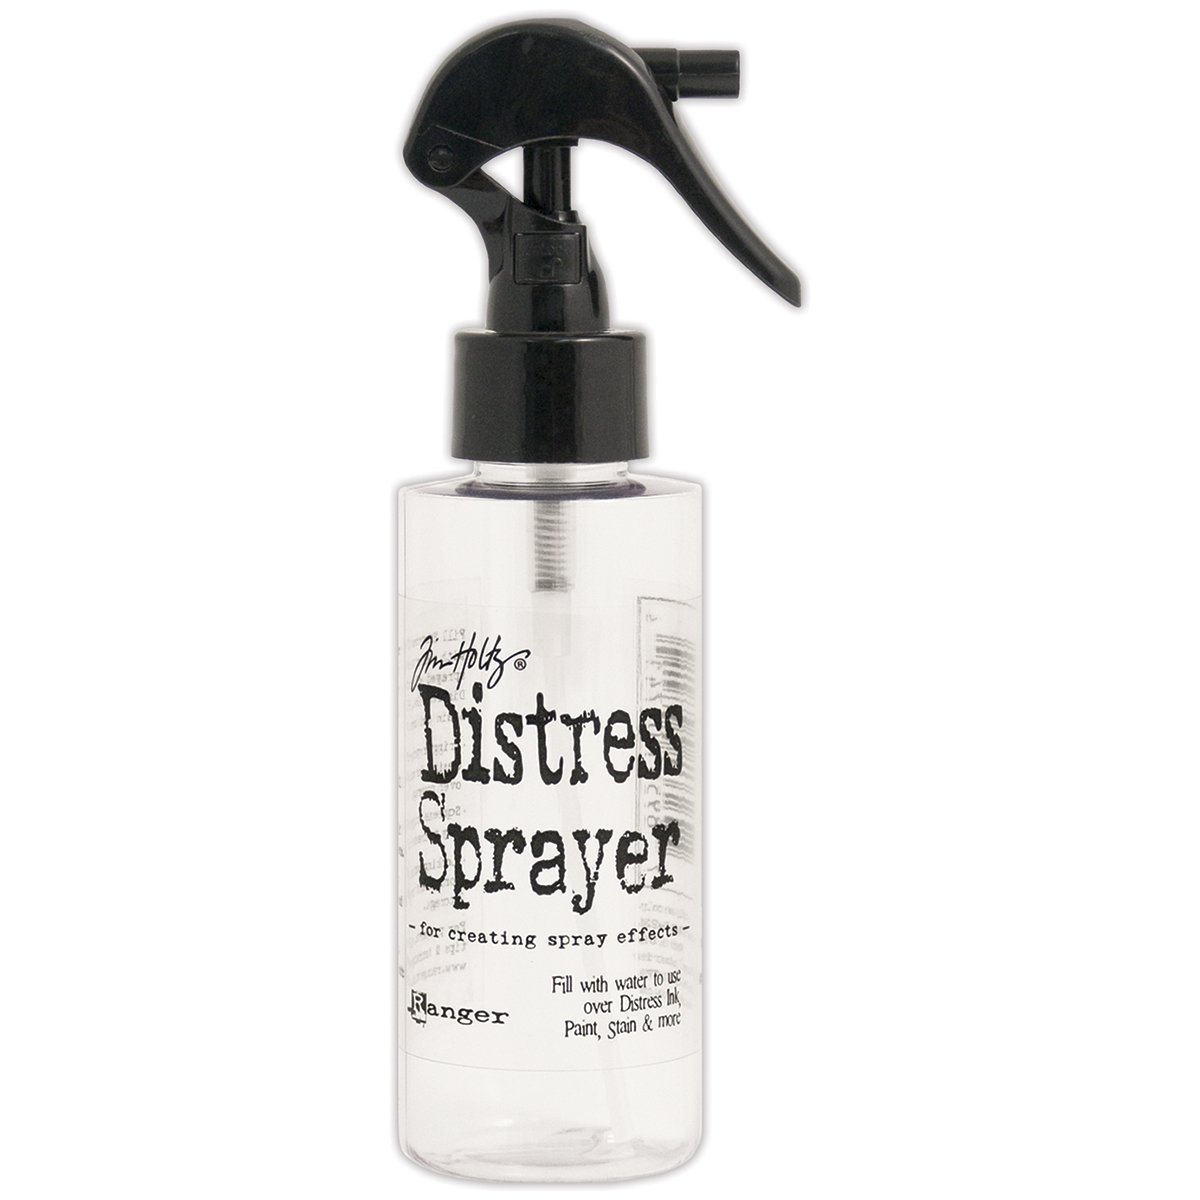
First of all, I colored a piece of white cardstock with Distress Oxides. For this card, I used Festive Berries Distress Oxide Ink and I sprayed some water on it. I let aside a little bit. Then, I used a stencil from my stash and I temporarily taped on top of the panel. As I wanted to use foil, I used a palette knife in order to add the Deco Foil Transfer Gel. This Transfer Gel requires to use a laminator but it has been launched another gel that can be used with a laminator or just a die cutting machine (see HERE). When I finished adding the transfer gel, I removed the stencil and let it dry very well (overnight is better). Then, I added the piece of red foil on top and I covered it with baker paper. I passed the piece through a laminator twice and the last one, I removed the baker piece and passed the piece through it without nothing. I waited for two seconds to cool the piece and removed the rest of the foil paper. Notice that the laminator has to be super hot to get better results.
Primero, coloreé un trozo de cartulina blanca con las tintas Distress Oxides. Para esta tarjeta en concreto, la coloreé con la tinta Festive Berries Distress Oxide Ink y la rocié con agua. La dejé a un lado para que se secara solo unos minutos. Luego, escogí un stencil o máscara que ya tenía en casa y lo puse sobre el panel y lo pegué temporalmente para añadirle el Deco Foil Transfer Gel que es, como su nombre indica, un gel que añades sobre la máscara con una espátula para que le puedas añadir más tarde el foil (hojas metalizadas brillantes). Una vez que añadí este gel, quité el stencil o máscara y lo dejé secar muy bien (si es durante toda la noche obtienes mejores resultados). En mi caso, para añadir el foil, utilicé una plastificadora (o laminadora) pero han lanzado otro gel que se puede utilizar por calor, es decir, con plastificadora o, por frío, es decir, solo utilizando una troqueladora manual como la Sizzix (mira AQUÍ). Después de dejar secar el gel, añadí el foil rojo sobre el panel, lo envolví en papel de horno y lo pasé por la plastificadora dos veces, la tercera vez que pasé la pieza por la plastificadora, la pasé sin el papel de horno. Esperé unos segundos para que se enfriara y le quité el foil sobrante. Asegúrense antes de pasar la pieza por la plastificadora de que ésta esté completamente caliente para tener un mejor resultado.
On a piece of heat resistant acetate, I stamped some snowflakes from the Stacking Snowflakes Stamp set with Versamark ink, using an acrylic block. I heat embossed with White Embossing Powder. Then, picked two circles die in order to create a frame for that window from the Nesting Circle Infinity Dies. I used the biggest of them to die cut the piece of acetate. For mounting the window, I decided to use adhesive foam strips but if you don't have them, just cut in strips your foam tape. First, I took the piece of the acetate that I'd previously die-cut and put over the panel. I traced the circle of that acetate piece with a pencil. Later, I started adding the pieces of foam strips inside the pencil line of the circle. I added two pieces of foam strips, one over another one to give more dimension to the window. Then, I added an anti-static powder tool to avoid the glitter to be stuck inside. I added the Snowflake glitter and, also added Prisma glitter that comes in the MMH kit from October 2019. I glued the piece of acetate and also added two white frames that I'd die cut before.
En una pieza de acetato especial para realizar embossing o repujado, estampé algunos copos de nieve del set Stacking Snowflakes de Hero Arts, con tinta Versamark ink y utilizando una base de acrílico. Le añadí los Polvos de Embossing Blancos y los sequé con la pistola de calor*. Luego, escogí dos troqueles de círculos para crear un marco para la ventana del set de troqueles Nesting Circle Infinity Dies. Utilicé el de mayor tamaño para troquelar la pieza de acetato de forma circular. Para montar la ventana, decidí utilizar tiras adhesivas de espuma pero si no tienen, simplemente recorta con unas tijeras el adhesivo de espuma que tengas. Primero, escogí la pieza de acetato que previamente había troquelado y la puse sobre el panel. Tracé el círculo del acetato con un lápiz. Luego, comencé a añadir las tiras de espuma adhesivas en el panel, por dentro del círculo y pegado a la línea que había dibujado. Más tarde, para evitar que la purpurina en el interior del círculo se quede pegada en los bordes, simplemente utilicé la Herramienta Antiestática de Polvo. Añadí la purpurina Snowflake Glitter y, también añadí la purpurina Prisma Glitter que vino con el kit de Hero Arts de Octubre 2019. Pegué la pieza de acetato y luego le añadí dos marcos circulares que había troquelado anteriormente.
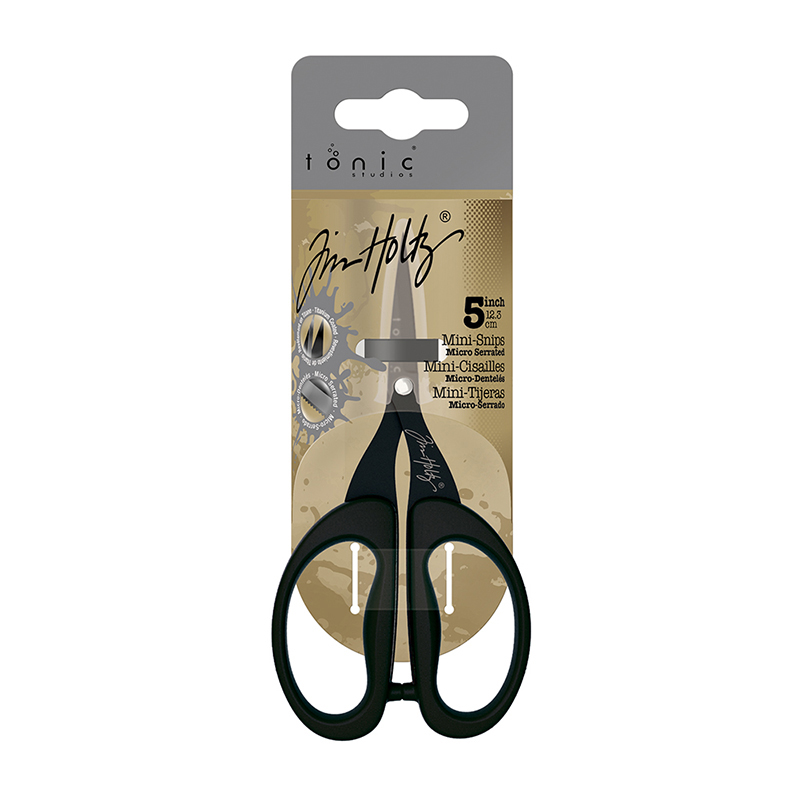
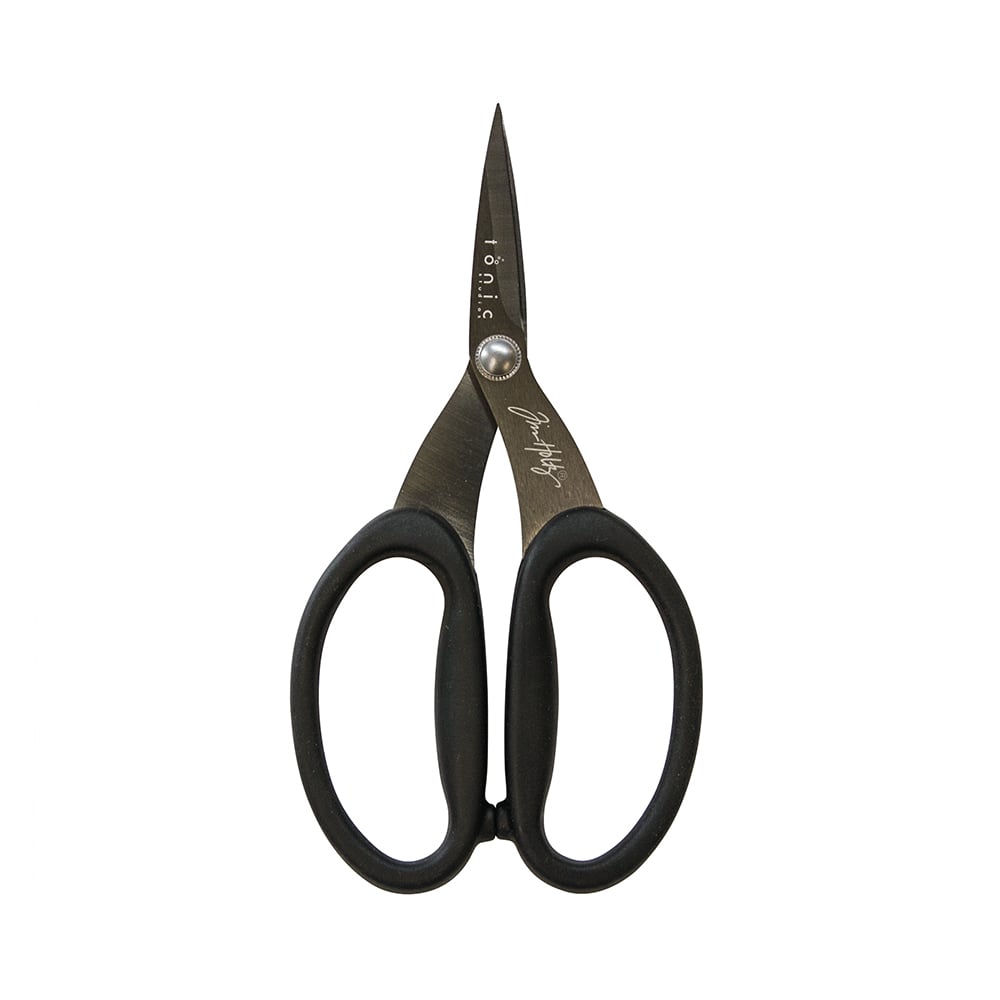
I created the image for this card using the stamp set Color Layering Fawn stamp set. I used the MINI Misti stamping tool to stamp this image twice. For the first layer, I used Soft Brown ink. I stamped the second layer with Wet Cement ink, and for the last one with Cup O'Joe ink. I don't have the coordinating dies for this set but it is available, so I cut myself around the piece with scissors but you can die cut the image, too. Finally, I added the image to the card using some foam circles.
Creé la imagen de esta tarjeta utilizando los sellos en capas de Hero Arts Color Layering Fawn Stamp set. Utilicé la herramienta para estampar MINI Misti para estampar las imágenes dos veces. Para la primera capa, utilicé la tinta Soft Brown ink. Estampé la segunda capa con la tinta Wet Cement, y para la última capa con la tinta Cup O'Joe ink. Como no tengo los troqueles coordinados para este set, recorté la imagen alrededor con unas tijeras pero puedes troquelar la imagen. Finalmente, añadí la imagen a la tarjeta utilizando círculos adhesivos de espuma.
For the sentiment, I just stamped the sentiment with Versamark ink on White Cardstock. I added some Red Cinnaban Ranger Embossing Powder and heat set it. I cut around that sentiment with scissors and added to the center of the card.
Para la frase, estampé la frase con la tinta Versamark ink en Cartulina Blanca. Añadí los Polvos de Embossing Red Cinnaban de Ranger y los sequé con la pistola de calor*. Recorté alrededor de esta frase con unas tijeras y la añadí en el centro de la tarjeta.
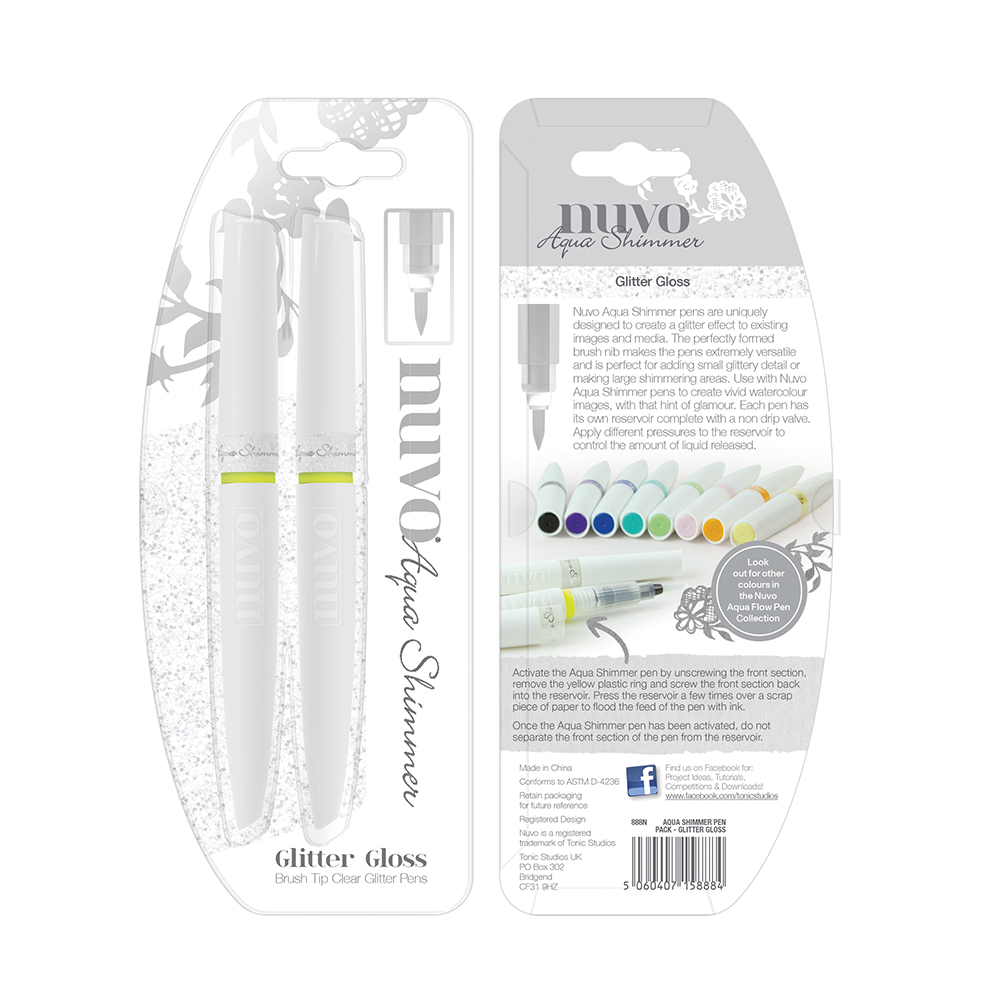
For embellishing the card, I colored the circle frame with a shimmer pen and added some white dots on the frame using NUVO Drops Gloss white.
Para decorar la tarjeta, coloreé el marco del círculo con un rotulador de purpurina plateada y añadí unos puntos blancos en el marco utilizando el NUVO Drops Gloss White.
I hope you like these cards and join in this new challenge at A Blog Named Hero for a chance to win some prizes. Do you like the three cards? Which one is your favorite?
Espero que les haya gustado estas tarjetas y que participen en este nuevo reto en el blog A Blog Named Hero para tener la oportunidad de ganar algunos premios. ¿Te han gustado estas tres tarjetas? ¿Cuál es tu favorita?
[Not all the product links are part of Affiliate Programs | No todos los enlaces a los productos son parte del Programa de Afiliados]
|














.jpg)


2 Comments
Marisela Delgado said: Pues, donde has estado perdida? Ya me tenias con cuidado! ha-ha Es broma. Como estas? Ya te hechaba menos. Ojala que estes bien. Tus tarjetas estan hermosas, como siempre, mi amiga!! Recibiste mi tarjeta navidena?? Te mando un abrazo y Feliz Navidad, Cha. Mari
ReplyDeleteHola Mari! ¡No había visto este comentario! Estaba revisando emails y me he encontrado con este. Tu tarjeta lleva tiempo colgada en frente del escritorio, donde creo las tarjetas, trabajo y estudio... siempre en frente, junto con la tarjeta que me enviaste para mi cumpleaños y las postales de Texas! Gracias amiga por tu comentario. Besitos
ReplyDelete