[Product links are listed below the page | El listado de productos están alistados a final de página]
Hello there! It's me, Cha! Today I'm going to show you a card that I made with the My Monthly Hero kit August 2019 which is still available. Love this kit so much because you can create several medieval scenes in cardmaking. For today's card, I made a card inspired by the medieval stained glass windows. For making this, I also used the Irregular Grid Bold Prints* from Hero Arts (discontinued). However, you can draw the lines with a black drawing pen.
¡Hola a todos! Soy Cha. Hoy voy a enseñarles una tarjeta que hice con el kit de Hero Arts Agosto 2019 el cual todavía está disponible. Me gusta mucho este kit porque puedes crear varias escenas medievales en tarjetería creativa. Para la tarjeta de hoy, hice una tarjeta inspirada en las vidrieras medievales. Para realizarlo utilicé el sello de caucho Irregular Grid Bold Prints* de Hero Arts (descatalogado). Sin embargo, pueden dibujar las líneas con un rotulador para dibujar negro.
¡Hola a todos! Soy Cha. Hoy voy a enseñarles una tarjeta que hice con el kit de Hero Arts Agosto 2019 el cual todavía está disponible. Me gusta mucho este kit porque puedes crear varias escenas medievales en tarjetería creativa. Para la tarjeta de hoy, hice una tarjeta inspirada en las vidrieras medievales. Para realizarlo utilicé el sello de caucho Irregular Grid Bold Prints* de Hero Arts (descatalogado). Sin embargo, pueden dibujar las líneas con un rotulador para dibujar negro.
First of all, I picked a 4,25 by a 5,5-inch white panel. I used the Mini MISTI stamping tool to make all the stamping. I placed the panel in the Mini MISTI and stamped the queen and the king that came with the kit with Hero Arts Intense Black Ink. I also stamped the same images on masking paper, cut them out and masked every piece from the white panel. Besides, I stamped the tent that came with the kit and masked this image, too.
Primero de todo, escogí un trozo de cartulina blanca de 4,25 por 5,5 pulgadas. Utilicé la herramienta Mini MISTI para estampar las imágenes. Pocisioné la cartulina en la Mini MISTI y estampé la reina y el rey que vinieron con este kit y con la tinta Intense Black Ink. También estampé las mismas imágenes en papel de enmascarar que recorté y enmascaré cada una en la cartulina. Además, estampé la tienda que vino con el kit y, también, la enmascaré.
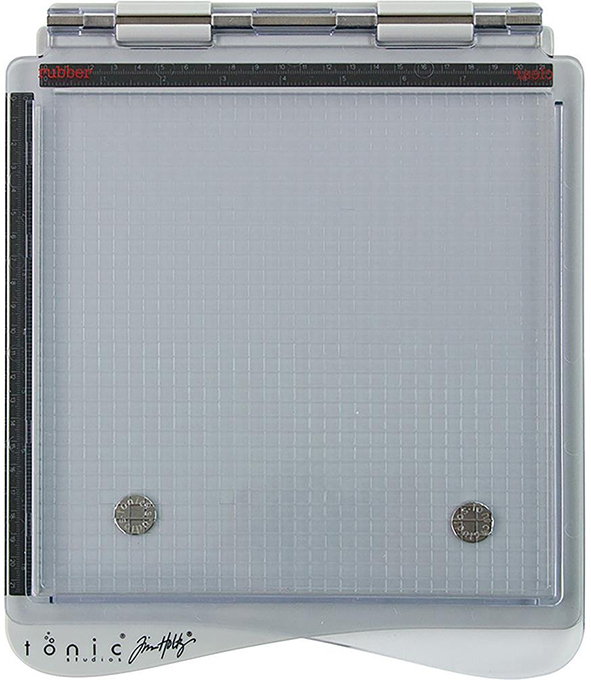
I die cut a banner from the Scrolls Infinity Dies Set to create a space for stamping the sentiment. I die cut this banner on masking paper, peeled off and masked an area underneath the images that I'd already stamped. I used the Irregular Grid Bold Prints* to give that stained glass window look. For stamping this rubber stamp, I decided to use the Tim Holtz Stamp Platform. I stamped this background stamp with Intense Black Ink because I wanted to color with Copics. When everything was stamped, I corrected the imperfections with a black drawing pen. I also traced the banner and made some fine lines. I removed all the masking pieces in order to see the design.
Troquelé una bandera del set de troqueles Scrolls Infinity Dies para crear un espacio para estampar la frase para esta tarjeta. Troquelé esta bandera en papel para enmascarar, despegué el adhesivo y lo pegué en un área debajo de las imágenes que ya había estampado. Utilicé el sello de caucho Irregular Grid Bold Prints* para darle una imagen más realista de vidriera. Para estampar este sello de caucho, decidí utilizar la Plataforma de Estampación de Tim Holtz. Estampé este sello para fondo con la tinta Intense Black Ink porque quería colorear con los rotuladores Copics. Cuando todo estaba estampado, corregí las imperfecciones con un rotulador para dibujo de color negro. Además, tracé algunas líneas en la bandera. Quité todos las piezas de enmascarar para ver el diseño.
I colored the panel with Copic Markers Sketch.
- Copic Markers Sketch: R89, R46, R27, R24, R43, RV02, RV00, Y02, Y08, B18, B05, BG18, BG13, BV17, BV11, E000, E11, E15, E18, 100, C7, C1, C4, W7, W4, RV34, B24
Coloreé el panel con los rotuladores Copic Sketch.
- Copic Markers Sketch: R89, R46, R27, R24, R43, RV02, RV00, Y02, Y08, B18, B05, BG18, BG13, BV17, BV11, E000, E11, E15, E18, 100, C7, C1, C4, W7, W4, RV34, B24
I started coloring with Copics recently. I have the 36-set Copic Markers Sketch, some Copic Markers Ciao, and 3 extra red Copic Markers Sketch and 3 extra teal Copic Markers Sketch. These markers are very expensive in many countries excepting Japan. I highly recommend to buy a set and then, purchase those markers that you consider to use them more.
Recientemente he empezado a colorear con los Copics. Tengo el set de Copic Sketch de 36, algunos rotuladores de Copic Ciao, 3 rotuladores Copic Sketch extras de color rojo y, 3 rotuladores Copic Sketch extras de color turquesa. Estos rotuladores son muy caros en muchos países excepto en Japón. Recomiendo comprar un set y luego ir adquiriendo aquellos rotuladores que consideren que van a utilizar más.
Later, I stamped the sentiment with Versamark Ink after having applied an anti-static powder tool. I heat embossed the sentiment with White Embossing Powder.
Más tarde, estampé la frase con la tinta Versamark Ink después de haber aplicado la herrammienta antiestática para polvo. Repujé la frase con los Polvos de Embossing White (Blanco).
I added some finishing touches with a gold gel pen to the crowns and the chairs, some gold shimmer to the clothes and some Crystal Clear Lacquer Pen to the background to give some dimension. Also, I added some white details to the elements and some iridescent sequins to the background.
Añadí algunos toques finales con un rotulador de gel dorado a las coronas y las sillas, algo de brillo dorado a las vestimentas y algo de relieve al fondo (la vidriera) con el Crystal Clear Lacquer Pen. También añadí algunos detalles blancos con un rotulador de gel a varios elementos y algunas lentejuelas iridescentes al fondo.
I added a piece of black craft foam to the back of the panel with Precision Glue and attached the whole piece on a white folded card of which I'd already glued a black panel.
Añadí una pieza de goma eva o foamy en la parte trasera del panel principal con Pegamento Líquido y pegué la pieza entera a una base de tarjeta blanca en la cual ya había pegado un trozo de cartulina negra.
I hope you like this card and create many cards with this kit because it is very beautiful and... it's still available that it is awesome!
Espero que les haya gustado esta tarjeta y creen muchas tarjetas con este kit porque es muy bonito y... ¡todavía está disponible!
Thank you so much and I'll be back soon!
¡Muchas gracias y estaré de vuelta!
[Not all the product links are part of Affiliate Programs | No todos los enlaces de productos forman parte del Programa de Afiliados]
|
In the USA, I highly recommend the Wagner heat tool from Hero Arts. I cannot use this tool because I live outside of the States and this tool cannot be used internationally due to the electrician requirements that are not the same for all the continents. No possible for use with outlet adapters.
I use Artemio heat tool (available in Europe only).
En EEUU, recomiendo la pistola de embossing de Hero Arts - Wagner. No puedo utilizar esta herramienta porque vivo fuera de los EEUU y es incompatible debido a los requisitos eléctricos que no son iguales para todos los continentes. Tampoco es posible utilizarse con un adaptador.
Utilizo la pistola de calor de Artemio (disponible solo para Europa)














.jpg)


0 Comments