[Product links are listed below the page | Los enlaces de los productos están alistados a final de página]
Hello there! It's Cha here and I'm at the A Blog Named Hero blog to show you another card for the "Stretch Your Stamp" Challenge. Like my previous card for this challenge, I used a die set but giving it a twist. I hope you feel inspired to create your cards for this challenge! There are a few days left to join us in this August Challenge!
¡Hola a todos! Soy Cha y estoy en el blog A Blog Named Hero para enseñarles otra tarjeta para el reto "Estira tus Sellos". Como mi tarjeta anterior para este reto, escogí un troquel para esta tarjeta. ¡Espero que se llenen de ideas para crear sus tarjetas para este reto! Quedan algunos días para que puedan participar en el reto de agosto.
For this card, I used the Hot Air Balloons Nesting Infinity Dies for creating my card but in a different way. The aim of this set is to create a hot air balloon as this set is named but I used this set for creating a light bulb. I picked two of the dies of the set that I lined them up and die-cut on a piece of white cardstock. I just wanted the frame for creating a bulb-shaped window card. I also used the smallest die from these two dies that I chose to die cut the front and the back of a white folded card so that we can see the inside of the card. I also die cut two pieces on a piece of acetate.
Para esta tarjeta, utilicé el set de troqueles Hot Air Balloons Infinity Dies para crear esta tarjeta pero de forma distinta. El objetivo de este set es crear un globo aeroestático como se llama este set pero lo utilicé para crear una bombilla. Escogí dos troqueles del set que alineé y troquelé en cartulina blanca. Simplemente quería crear un marco para crear una tarjeta con ventana con forma de bombilla. También utilicé el troquel más pequeño de los dos que utilicé para troquelar la parte frontal y trasera de la base de tarjeta blanca para poder ver el interior de la tarjeta. Además, troquelé dos trozos en acetato utilizándo un troquel del mismo set.
Para esta tarjeta, utilicé el set de troqueles Hot Air Balloons Infinity Dies para crear esta tarjeta pero de forma distinta. El objetivo de este set es crear un globo aeroestático como se llama este set pero lo utilicé para crear una bombilla. Escogí dos troqueles del set que alineé y troquelé en cartulina blanca. Simplemente quería crear un marco para crear una tarjeta con ventana con forma de bombilla. También utilicé el troquel más pequeño de los dos que utilicé para troquelar la parte frontal y trasera de la base de tarjeta blanca para poder ver el interior de la tarjeta. Además, troquelé dos trozos en acetato utilizándo un troquel del mismo set.
I glued the piece of acetate on the front of the card and started making the circuit for giving light to this bulb. I folded a little piece of cardboard that would hold the battery and glued the piece at the bottom right side of the notecard. I created the light circuit by adding the copper tape which will go from this folded piece of cardboard to the center of the piece of acetate, meaning that I had to create a "road" that goes from the battery to the led lights. I split the copper tape into two fine strips. I added one strip (positive terminal) from the base of the cardboard to the center of the acetate piece and added another copper strip (negative terminal) from the cardboard piece to the piece of the acetate without overlapping both copper strips. I added a yellow led light in the center of the acetate piece, between the two copper strips (the positive and the negative terminals). I made sure that this led light was a little bit on top of each copper strip. I added double-adhesive foam strips around the folded cardboard piece and added the battery correctly focusing on the terminals of the battery and the copper strips.
Pegué uno de los trozos de acetato en la parte frontal de la tarjeta y comencé a hacer el circuito para darle luz a esta bombilla. Doblé un trozo de cartón que sujetaría la pila y pegué la pieza en la parte inferior derecha de la base de la tarjeta. Creé el circuito de la bombilla añadiendo la cinta adhesiva de cobre que irá desde la pieza de cartón doblada hacia el centro de la pieza de acetato, es decir, tuve que crear una "carretera" que va desde la pila hasta la luz led. Corté la cinta adhesiva de cobre en dos finas tiras. Añadí una de las tiras (el polo positivo) desde la base de la pieza de cartón hasta la pieza de acetato y añadí otra tira de cobra (el polo negativo) desde la parte de cartón hasta el acetato sin solapar ambas tiras de cobre. Añadí la luz amarilla led en el centro de la pieza de acetato, entre las dos tiras de cobre (polos positivos y negativos). Me aseguré que la luz led estuviera un poco sobre cada tira de cobre. Añadí tiras de adhesivo de espuma alrededor de la pieza de cartón y añadí la pila correctamente centrándome en los polos de la pila y las tiras de cobre.
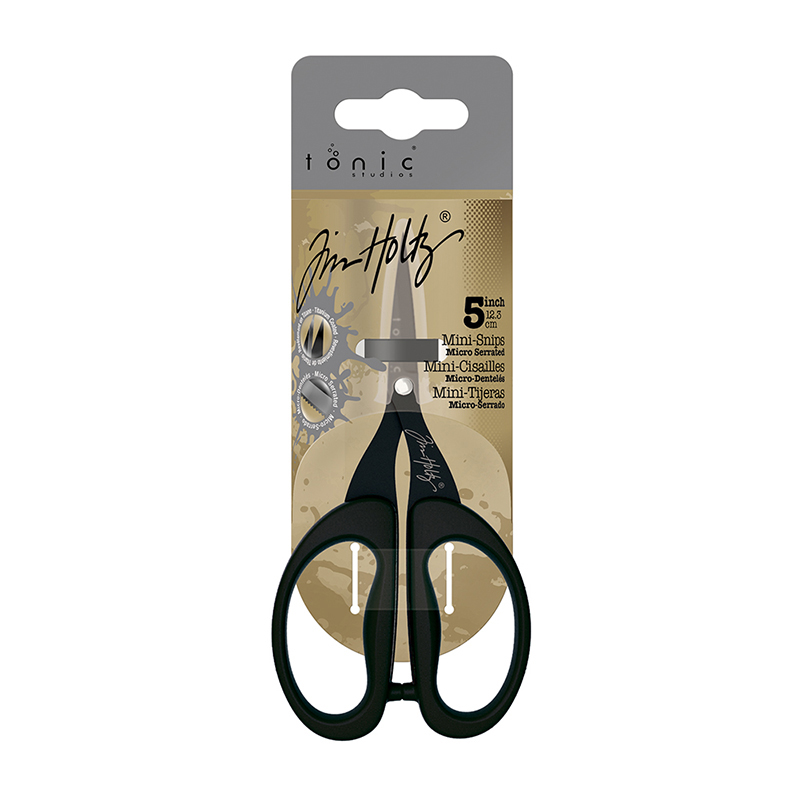
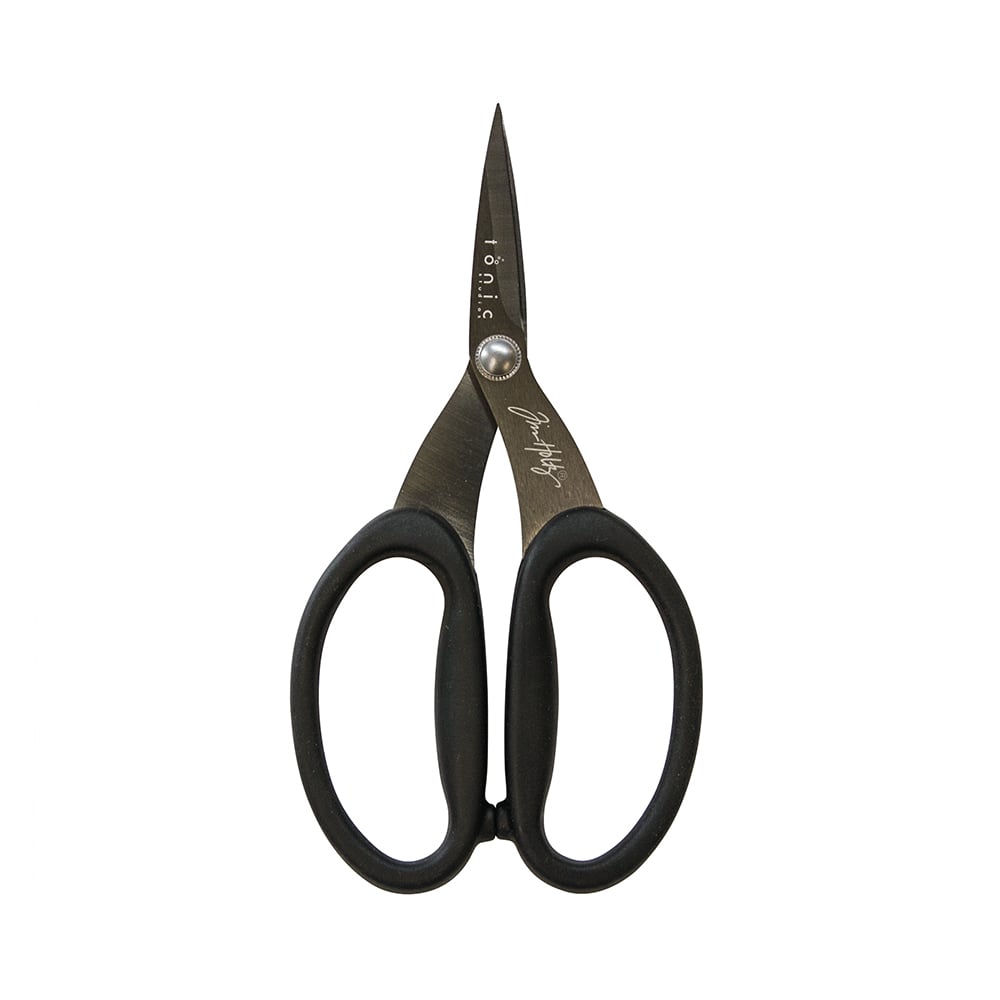
I created the bulb base on a piece of Silver Mirror Cardstock that I cut with scissors and left aside for a while. Besides, I die cut a small circle on Pitch Black Cardstock from the set Circle Nesting Infinity Dies. The sentiment that I picked was from an old My Monthly Hero kit (August 2017) that is not available anymore but there are many sentiment sets that you can use. I used an anti-static powder tool before I stamped the sentiment on the circle with Versamark Ink. Then, I heat embossed the sentiment with White Embossing Powder. I heat it with my heat tool*. Later, I added double-adhesive foam strips around the acetate piece and at the bottom of the acetate (bulb base), next to the cardboard piece that holds the battery so that I added the circle with the sentiment on top of the battery and the piece that I created as the bulb base next to it, too. I also added another piece of acetate and the bulb frame that I created previously on top of the foam strips that were around the bulb. In the inside of the card, I added a circle previously colored with Squeezed Lemonade Distress Oxide Ink.
Creé la base de la bombilla en un trozo de Cartulina de Espejo Plateado que recorté con unas tijeras y lo dejé a parte durante un momento. Además, troquelé un círculo pequeño en cartulina negra del set de troqueles Circle Nesting Infinity Dies. La frase que escogí de un kit de Hero Arts pasado (agosto 2017) que ya no está disponible pero que hay muchos sets con frases que pueden utilizar para crear una tarjeta como esta. Utilicé la herramienta antiestática de polvo antes de estampar la frase en el círculo con la tinta Versamark. Luego, repujé (o realicé embossing) con polvos de embossing blancos. Sequé los polvos con la pistola de calor*. Más tarde, añadí tiras adhesivas de espuma alrededor de la pieza de acetato con forma de bombilla y, también, en la parte inferior de la bombilla (en su base), al lado de la pieza de cartón que sujeta la pila para añadir el círculo con la frase sobre la pila y también, la base de la bombilla. También añadí la otra pieza de acetato y el marco de la bombilla que creé anteriormente sobre las tiras adhesivas de espuma, alrededor de la bombilla. En el interior de la tarjeta, añadí un círculo coloreado con la tinta Distress Oxide Ink - Squeezed Lemonade.
To embellish this card, I added some adornments to the base bulb - I did some lines with the Crystal Clear Lacquer Pen and added some silver glitter. What's more, I also added some dots of Crystal Clear Lacquer Pen here and there and added some gold glitter. I gave some gold shimmer to the frame of the bulb and added some gold confetti and stars on a piece of the acetate and some black confetti around the front panel. The confetti was included in the My Monthly Hero kit February 2019 that is still available.
Para decorar la tarjeta, añadí algunos adornos en la base de la bombilla. Hice algunas líneas con el pegamento para relieve Crystal Clear Lacquer Pen y añadí purpurina plateada. Además, añadí algunos puntos con el mismo pegamento para relieve, Crystal Clear Lacquer Pen aquí y allá y les añadí purpurina dorada. Dí algo de brillo dorado al marco de la bombilla y añadí confetti y estrellas doradas sobre la pieza de acetato y algunos confettis negros alrededor del panel frontal. El confetti estaba incluído en el kit de Hero Arts My Monthly Hero kit de Febrero 2019 que todavía está disponible.
I hope you get inspired to create cards for our July Challenge that is going to end in a few days! Show us your cards for this month!
¡Espero que se inspiren para crear tarjetas para nuestro Reto de Julio que acabará en unos pocos días! ¡Muéstranos tus tarjetas para este mes!
Thank you so much!
¡Muchas gracias!
[Not all the product links are part of Affiliate Programs | No todos los enlaces de productos son parte del Programa Afiliados]
|
In the USA, I highly recommend the Wagner heat tool from Hero Arts. I cannot use this tool because I live outside of the States and this tool cannot be used internationally due to the electrician requirements that are not the same for all the continents. No possible for use with outlet adapters.
I use Artemio heat tool (available in Europe only).
En EEUU, recomiendo la pistola de embossing de Hero Arts - Wagner. No puedo utilizar esta herramienta porque vivo fuera de los EEUU y es incompatible debido a los requisitos eléctricos que no son iguales para todos los continentes. Tampoco es posible utilizarse con un adaptador.
Utilizo la pistola de calor de Artemio (disponible solo para Europa)


.jpg)


0 Comments