[Supplies that I used in this post are listed at the end of the page | Los materiales utilizados se encuentran alistados al final de página]
Hi there! It's me, Cha! I've been super busy at work but here I am with some cards that I made using the My Monthly Hero kit from Hero Arts (May 19). I know that they've already launched the new one but I wanted to post this video focusing on the embossing powder that came with the kit. This embossing powder is awesome! I created some backgrounds that I hope you are going to love it!
¡Hola a todos! ¡Soy Cha! Estoy super ocupada en el trabajo pero bueno, aquí estoy con algunas tarjetas que hice con el kit de Hero Arts - My Monthly Hero (Mayo 19). Sé que ellos ya han lanzado el nuevo kit pero quería publicar este vídeo centrándome en los polvos de embossing que vienen con el kit que ...¡son impresionantes! Creé algunos fondos que...¡espero que les guste!
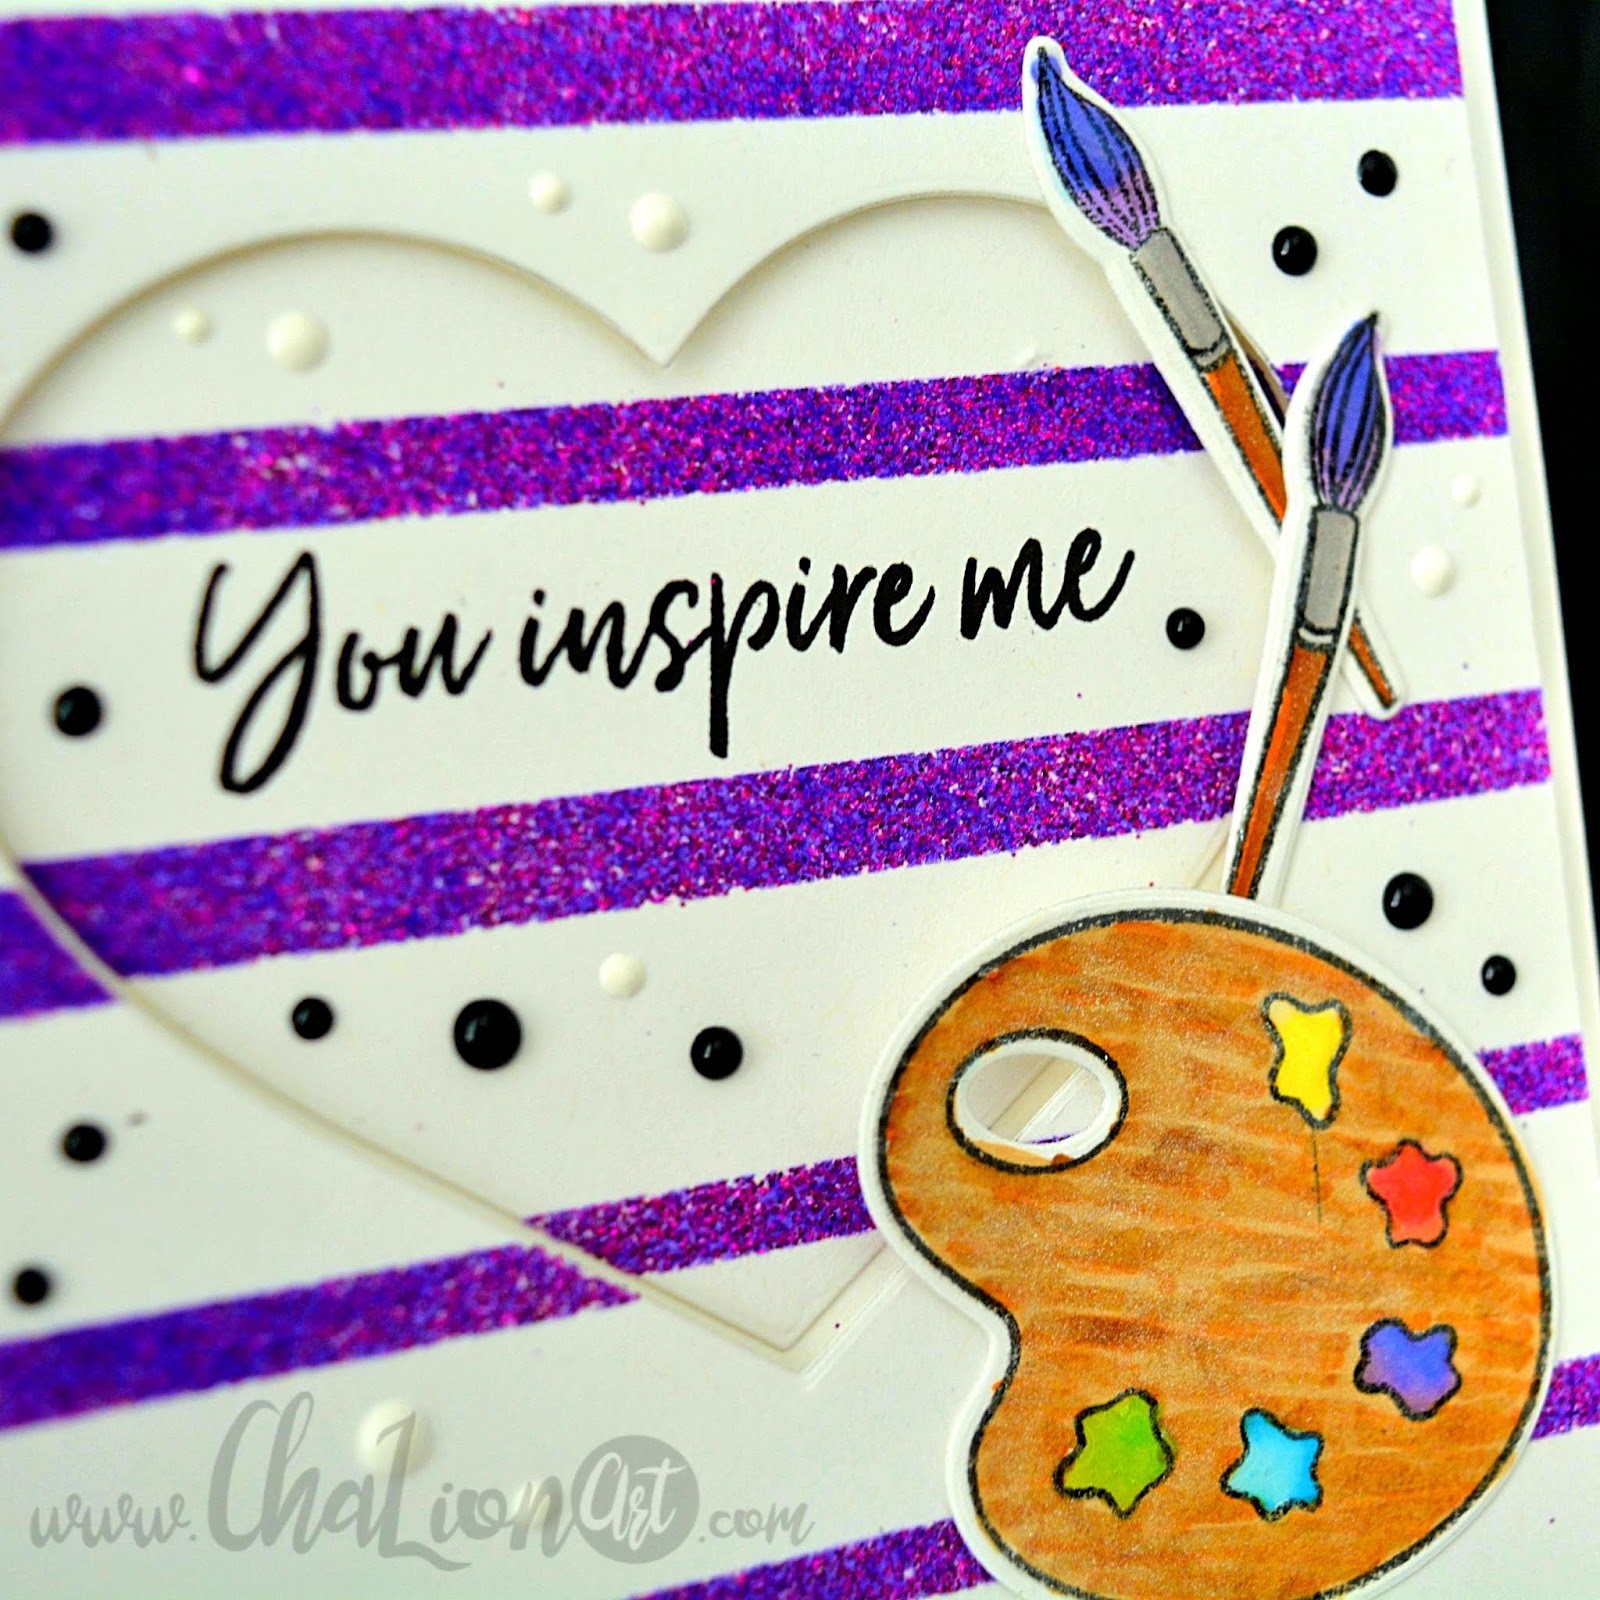
First of all, I used the heart die cut that was included in the kit and placed it in the center of my white card. I passed it through my die cutting machine. Now that I had the two pieces I temporarily taped the two pieces with masking tape on the back in order to hold the pieces while I was creating on the design. This masking tape also came with the kit. I used the masking tape to create some strips. I used a powder tool to avoid the powder stacks everywhere on my card. I added some embossing ink pressing down the pad onto the cardstock. Later, I added the beautiful purple sparkle embossing powder and heat set it with my heat tool. This embossing powder also came with the kit. I waited a few seconds and removed the masking tape. I also removed the masking tape from the back of my panel.
Primero de todo, utilicé el troquel de corazón que estaba incluido en el kit y lo puse sobre el centro de la cartulina para tarjeta de color blanca. La pasé por mi troqueladora manual. Ahora que tenía dos piezas, las uní de manera temporal con cinta de enmascarar por la parte trasera para sujetarlas mientras trabajaba en el diseño. Esta cinta de enmascarar también viene en el kit. También utilicé cinta de enmascarar para crear el diseño. Para ello, utilicé esta cinta para crear tiras. Utilicé la herramienta de polvo antiestática para evitar que los polvos se adhieran por doquier. Luego tinté con la tinta de embossing presionando la almohadilla de la tinta. Añadí los polvos de embossing purple sparkle y los sequé con la pistola para embossing. Estos polvos de embossing vienen en el kit también. Esperé algunos segundos y quité la cinta de enmascarar, tanto por la parte frontal como la parte trasera.
I trimmed the panel half of an inch each side. As a reference, I put the panel on top of a white notecard and traced the heart. Then, I glued the heart piece just on top of the mark that I made. I also glued the background but I decided to give it some dimension and glued the piece using foam tape.
Corté media pulgada por cada uno de los lados. Como referencia, puse el panel sobre la parte frontal de la base blanca de tarjeta y tracé el corazón. Luego pegué la pieza de corazón justo sobre la marca que había hecho. También pegué el fondo pero decidí que lo quería con un poquito de relieve por lo que lo pegué con cinta adhesiva de espuma.
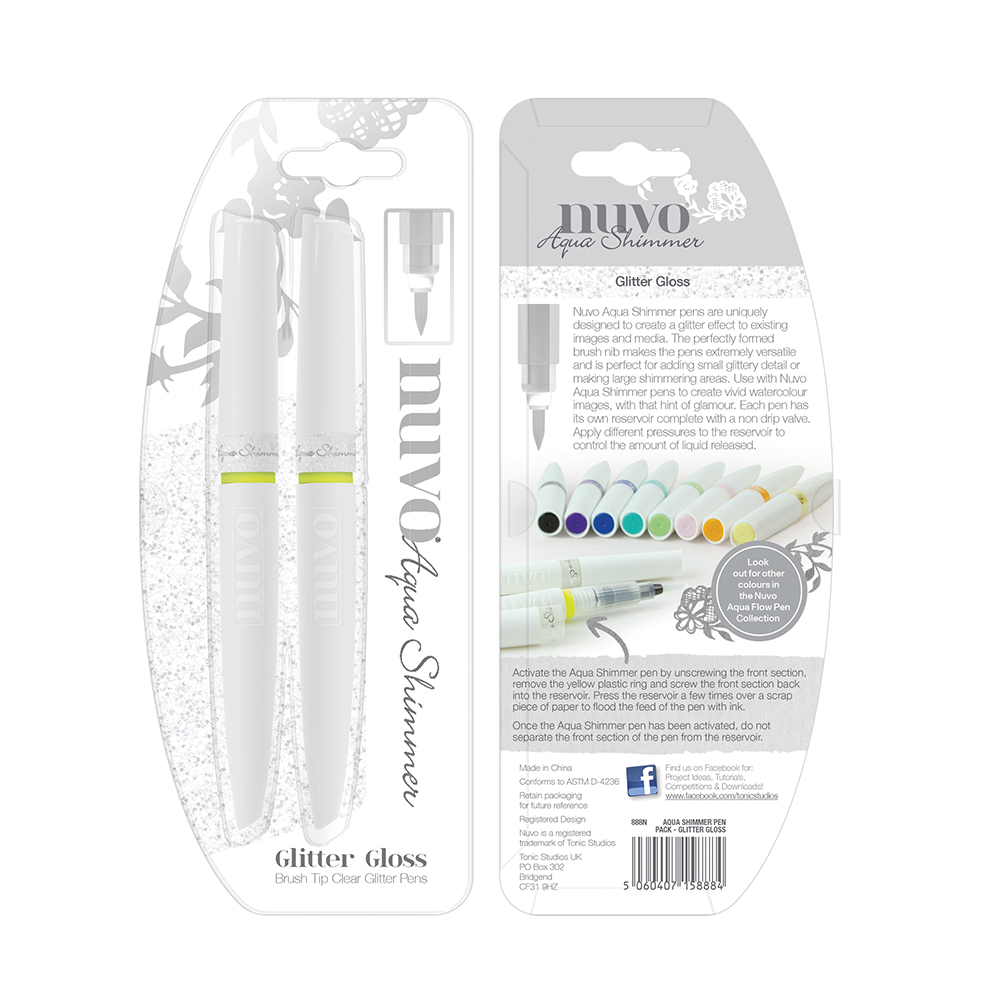
I picked the palette and brush images from the main kit. I stamped both images using the mini MISTI for stamping several times. I stamped the images using Intense Black Ink because I colored these images with alcohol markers, ProMarkers and BrushMarkers. I added some shimmer to the images using the NUVO shimmer pen.
Elegí las imágenes de la paleta y el pincel del kit principal. Estampé ambas imágenes utilizando la herramienta para estampar mini MISTI para, así, poder estampar varias veces. Estampé las imágenes utilizando la tinta Intense Black porque coloreé estas imágenes con rotuladores de alcohol, ProMarkers y BrushMarkers. Aladí algo de brillo a las imágenes utilizando el rotulador NUVO shimmer pen.
I stamped the sentiment with Versafine Onyx Black ink. To end this card, I just added some white and black enamel dots here and there with NUVO drops.
Más tarde estampé la frase con la tinta Versafine Onyx Black. Para terminar esta tarjeta, solo añadí algunos puntos blancos y negros aquí y allá con los NUVO drops.
And that's it! These are my two cards using this kit!
¡Y listo! Estas son mis dos tarjetas utilizando este kit.
|
I also created some other cards that you can be interested in. Because of my work, I couldn't write or make a video about the processes of each card but I leave you the products that I used so that you could check it out if you want to.
También creé otras tarjetas que pueden ayudarte a inspirarte. Por falta de tiempo, no he podido escribir ni hacer un vídeo del proceso pero les dejo los enlaces a los productos que utilicé para que así, puedan revisarlo si quisieran.
Thanks so much, for reaching the bottom of the page! and I hope I can see you very soon!
Thanks so much, for reaching the bottom of the page! and I hope I can see you very soon!
¡Muchas gracias por haber llegado hasta aquí! ¡Hasta pronto!
|














.jpg)


0 Comments