[Thumbnail image links are listed below this post | Los enlaces en imágenes de los productos se encuentran publicados al final de esta publicación]
Hello there! It's me, Cha! For today's post, I'm going to show you how I assembled this card easily and created a beautiful moon night scene. For creating this, I used the color layering sleepy moon stamp set and the color layering sea and sky stamp set from Hero Arts.
¡Hola a todos! ¡Soy Cha! Para la publicación de hoy les voy a mostrar cómo monté esta tarjeta tan fácil de hacer y crear una bonita escena de noche con una luna brillante. Para crear esta escena, utilicé varios set de sellos de Hero Arts - color layering sleepy moon y color layering sea and sky.
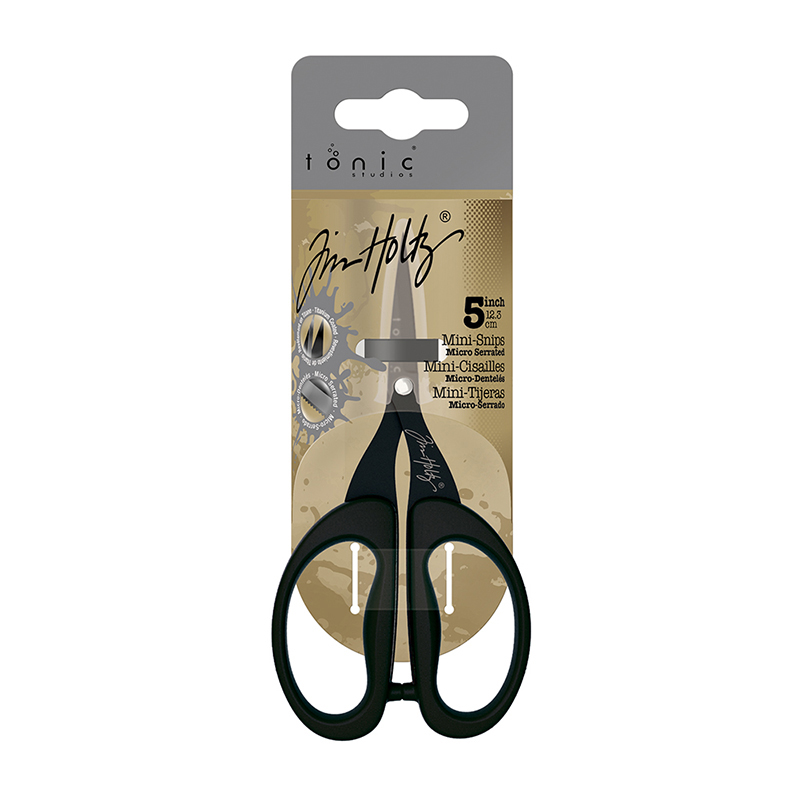
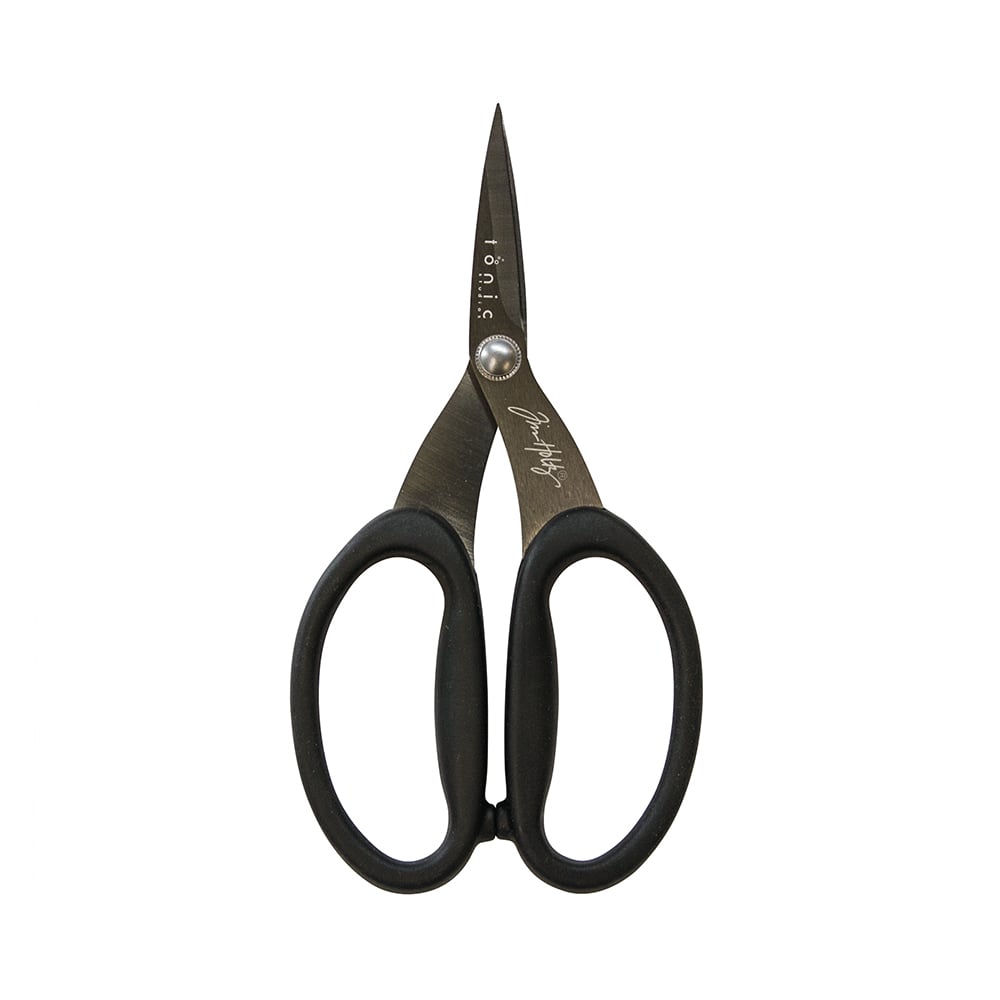
First, I stamped the color layering sleepy moon using the mini MISTI stamping tool. I stamped the first layer of the moon with unicorn pigment ink on white cardstock. As this ink is a pigment, you can even see the image, so it is easy to see it. Then, I moved to the second layer which I stamped with soft sky dye ink. Finally, I stamped the third layer with soft granite dye ink. I didn't want to cut the moon with the coordinating die because of the halo that the die makes around the image. For this, I cut it myself with scissors. I left aside for a while.
Primero, estampé la luna del set de sellos color layering sleepy moon utilizando la herramienta de estampación mini MISTI. Estampé la primera capa de este set con la tinta de pigmento unicorn sobre cartulina blanca, especial para tarjetería (llamada cardstock). Como la tinta es de pigmento, puedes incluso ver la imagen estampada en la cartulina blanca aunque la tinta también sea blanca. Luego estampé la segunda capa la cual estampé con la tinta soft sky. Finalmente, estampé la tercera capa con la tinta soft granite. No quise cortar la luna con el troquel coordinado porque deja como un halo alrededor de la imagen. Por ello, recorté la luna con unas tijeras.
Later, I also stamped the layering clouds from the color layering sea and sky stamp set. I stamped these clouds separately. I stamped the first layer of the clouds with different dye inks - soft sky and soft granite, and then, I stamped the second layer with the same inks. Finally, I die cut each cloud with the coordinating die. I also modified some of these clouds with scissors.
Luego estampé nubes en capas del set de sellos color layering sea and sky. Estampé estas nubes de manera separada. Estampé la primera capa de las nubes con diferentes tintas - soft sky y soft granite, y luego, estampé la segunda capa con las mismas tintas. Finalmente, troquelé cada nube con su troquel coordinado. También modifiqué algunas de estas nubes con tijeras.
I picked a black piece of cardstock and stamped the sentiment from the color layering sleepy moon stamp set. I used the anti-static powder tool because I decided to heat embossed the sentiment with silver sparkle embossing powder. Then, I blended the center of the card with unicorn pigment ink.
Escogí una cartulina negra y estampé la frase del set de sellos color layering sleepy moon. Utilicé la herramienta de polvo antiestática porque decidí realizar embossing para la frase con los polvos de embossing silver sparkle. Entonces, apliqué la tinta de pigmento unicorn sobre la cartulina negra.
For assembling this card, I adhered the moon next to the sentiment with foam tape. Next, I attached the clouds here and there with or without foam tape.
Para montar esta tarjeta, adherí la luna al lado de la frase con la cinta adhesiva de espuma. Luego, pegué las nubes, unas aquí y otras allá, con o sin cinta adhesiva de espuma.
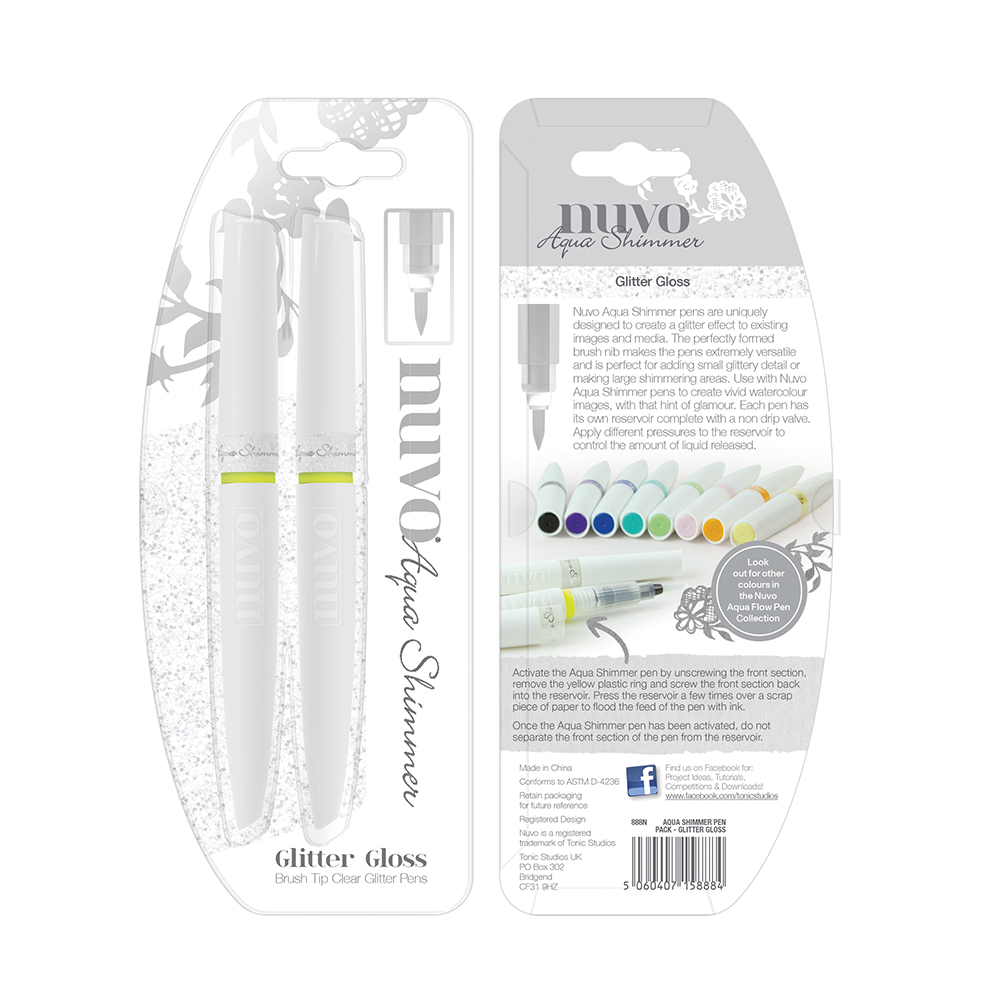
Finally, I added some silver star sequins and confetti. Also, I added some shimmer with the NUVO shimmer pen and the Sakura stardust pen.
Finalmente, añadí algunas lentejuelas de estrellas plateadas y confetti. También añadí algo de brillo con el NUVO shimmer pen y el rotulador stardust de Sakura.
I hope you like this card and... see you soon!
Espero que les haya gustado esta tarjeta y... ¡hasta pronto!
|
For Americans, I highly recommend the Wagner heat tool from Hero Arts. I cannot use this tool because I live outside of the States and this tool cannot be used internationally due to the electrician requirements that are not the same for all the continents. No possible for use with outlet adapters.
I use Artemio heat gun (available in Europe only).
Para los americanos, recomiendo la pistola de embossing de Hero Arts - Wagner. No puedo utilizar esta herramienta porque vivo fuera de los EEUU y es incompatible debido a los requisitos eléctricos que no son iguales para todos los continentes. Tampoco es posible utilizarse con un adaptador.
Utilizo la pistola de calor de Artemio (disponible solo para Europa)
[Not all the thumbnail image links take part of Affiliate Programs | No todos los enlaces en imágenes forman parte del Programa de Afiliados]













.jpg)


0 Comments