Hello everyone! It's me, Cha! A few days ago, I showed you one card that I made using the My Monthly Hero kit - May 2018, and so this week but quite different! This time, I created a card using the window fancy die with a frame that came with the kit. Unfortunately, the kit is no more available but you can use your own fancy dies with the liquid watercolors that they are wonderful! They are translucent that means that you can color over your image and you still see the image.
¡Hola a todos! Soy Cha. Hace algunos días les mostré una tarjeta que hice utilizanso el kit de Hero Arts de Mayo 2018, y también esta semana pero...¡una tarjeta con diferentes materiales del kit! Esta vez creé una tarjeta utilizando el troquel especial de ventana que hace el efecto de marco con su forma en la tarjeta y que vino con este kit tan bonito. Este kit ya está agotado y no lo volverán a lanzar pero... estén muy atentos a los nuevos kits que lanzan cada mes porque son muy versátiles y, con sus productos, pueden crear tarjetas tan lindas como esta. También utilicé las acuarelas líquidas de Hero Arts que me gustan mucho porque son translúcidas que significa que puedes colorear sobre una imagen y sigues viendo lo que estás coloreando.
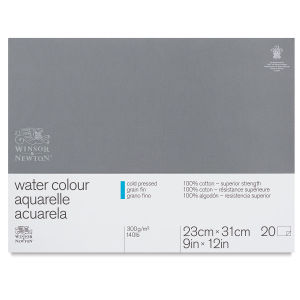
First, I created the background. I cut a circle on masking paper and placed on top of a piece of watercolor paper. I started coloring with Hero Arts liquid watercolors - dandelion and strawberry. I dried the piece a little bit using my craft tool and left aside to dry.
Para comenzar la creación de esta tarjeta, creé el fondo. Primero recorté un círculo en papel de enmascarar y lo posicioné en un trozo de papel de acuarela. Comencé coloreando con las acuarelas líquidas de Hero Arts - dandelion y strawberry. Sequé el fondo con la ayuda de la pistola de calor o embossing y la dejé a un ladito para que terminara de secarse bien.
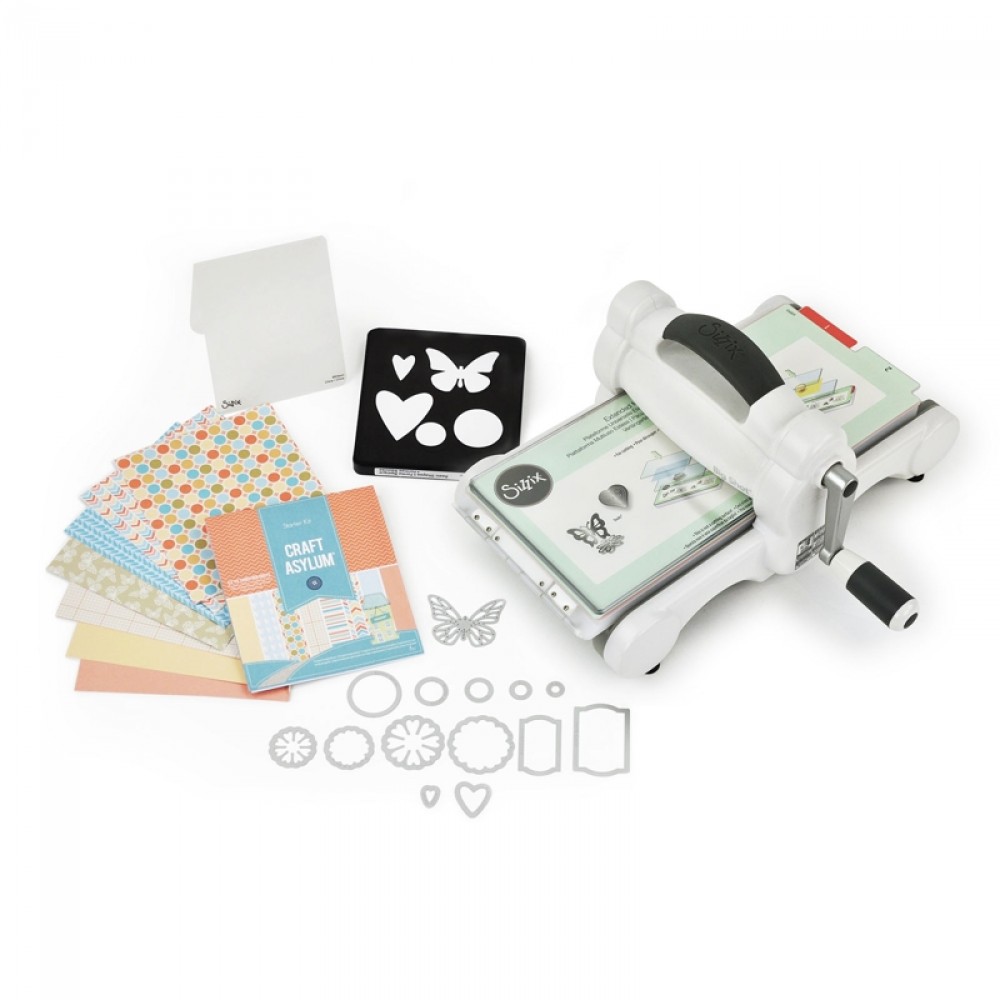
Then, I positioned the fancy window die frame and oval die over the wood cardstock from Hero Arts and passed through my Big Shot. I also colored this piece with liquid watercolors - pine, moss, leaf and artprint brown. I left aside to dry.
Luego posicioné el troquel especial de ventana sobre una cartulina especial simulando la madera y lo corté pasándolo por la troqueladora de la Big Shot. También coloreé esta pieza con las acuarelas líquidas - pine, moss, leaf y artprint brown. Dejé a un lado para secar.
I returned to the first piece that I created. I cut this piece with the oval die with the Big Shot. I removed the masking circle carefully and I blurred the lines of that circle with some water in order to create a transition between the sky and this sunset sun.
Volví a la primera pieza que creé y la troquelé con el troquel oval que vino también en el kit. Quité el círculo de enmascarado con cuidado y difuminé un poco los bordes del círculo y el fondo para crear una transición entre el cielo y ese sol del atardecer.
I used thorn tree grasses fancy dies from Hero Arts. In this case, I just picked the grass die and cut a piece of watercolor paper that I colored with greens liquid watercolors later. I cut in small pieces and glued at the bottom of the sun background piece. Also, I cut a piece of white craft foam with the window fancy die. For attaching all the pieces, I used a strong adhesive Distress collage medium. So, after gluing the small pieces of grasses that I previously cut, I adhered the craft foam to the colored wood cardstock and, finally, I glued the whole piece on top of the twilight background piece.
Utilicé el set de troquel de Hero Arts llamado thorn tree grasses. En este caso sólo utilicé el troquel del césped, y una vez cortado en papel de acuarela, lo coloreé en tonos verdes y con las mismas acuarelas líquidas que había estado utilizando. Lo recorté en trozos y los pegué en la parte inferior del panel con el sol en el atardecer. También recorté goma eva o foamy blanco con el troquel especial que utilicé anteriormente. Para adherir todas las piezas, utilicé el pegamento fuerte Distress collage medium. Así que después de haber adherido los trocitos del césped, pegué el trozo de goma eva o foamy a la cartulina que simula la madera, y, finalmente, pegué esta pieza sobre el fondo del atardecer.
For the card base, I chose a piece of foliage notecard from Hero Arts. I added to the front of the notecard some pieces of washi tape that came with the kit.
Para la base de la tarjeta, escogí la base foliage de Hero Arts de tonos verdes. Añadí en la tapa de la tarjeta algunas piezas de washi tape que vino con el kit. ¡Cualquier washi tape funciona!
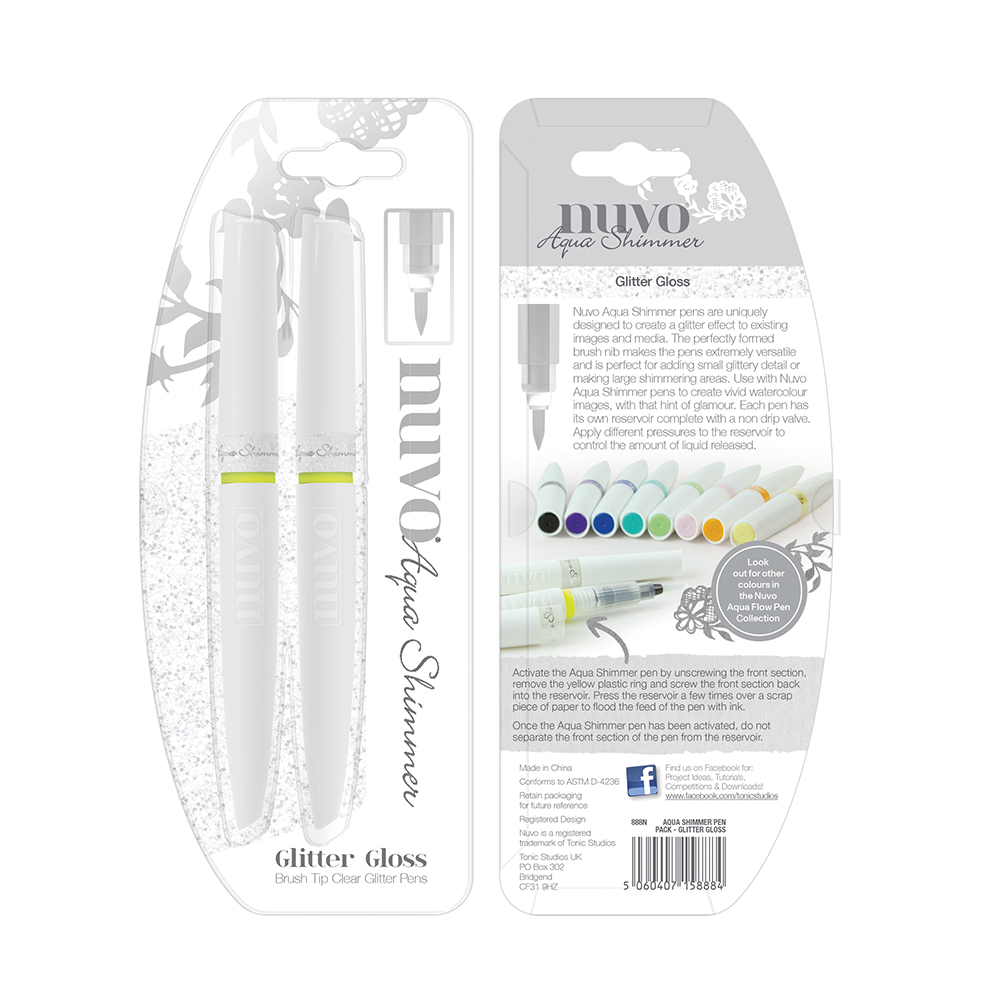
For finishing my card, I just glued the oval piece on top of the notecard. I added the sentiment near the swing using versafine onyx black ink. Finally, I gave some shimmer to the sun with my nuvo shimmer pen.
Para terminar esta tarjeta, pegué la pieza entera con forma oval sobre la tarjeta base. Añadí la frase cerca del columpio utilizando la tinta versafine onyx black. Finalmente, le dí algo de brillo al sol con el nuvo shimmer pen.
Here I show you another similar card that I made at the same time.
Aquí les muestro otra tarjeta similar que hice a la misma vez.
I hope you like this card and remember to go to my YouTube channel to watch the video!
Aquí les muestro otra tarjeta similar que hice a la misma vez.
I hope you like this card and remember to go to my YouTube channel to watch the video!
Thanks and see you soon!
Espero que les haya gustado esta tarjeta y ¡recuerden ir a mi canal de YouTube para ver el vídeo!
Gracias y... ¡hasta pronto!
|









.jpg)


0 Comments