Hello! It's me, Cha! Today I'm going to show you how I created a card with glossy images through clear embossing powders. Also, I used die cuts to cut on post-it notes to do some masking on the background.
Sentiment
I first created the sentiment with embossing powders. As I wanted to do some coloring in the background, I stamped the sentiment first because I didn't want my background to be contaminated with the embossing powders. So, I stamped my sentiment using white embossing powders.
The sentiment that I used was from the last Hero Arts kit, July 2017.
Background
I used Hero Arts die cuts set that comes with a tree and grass. I used both to create this card. For my background, I picked the grass but I did some masking first. I mean that I cut the grass on pieces of post-it notes. If you have masking paper, that would be fine.
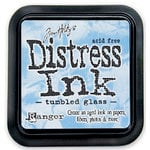
Before doing the masking, I colored just the middle of my panel with Distress Ink, Tumbled Glass. Then, I took my grass post-it note and placed it on that part of the card that I colored just a minute ago, but I put the post-it note upside down because I wanted to color the part of the bottom of my card. I colored the part of the grass with different green tones with Distress Inks and move here and there the masking so I could color that part with different colors.
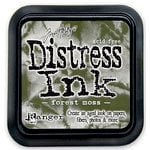
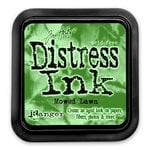
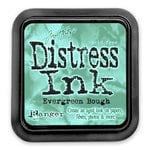
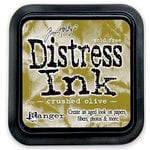
For the grass, I used Forest Moss, Mowed Lawn, Evergreen Bough, Pine Needles, Crushed Olive and Shabby Shutters.
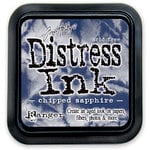
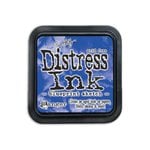
For the top of my card, I created the sky with different blue tones with Distress Inks, too. I placed a cloth on the bottom of the card to avoid coloring that part. As I colored the part of the 'horizon' with Tumbled Glass, I started coloring with the next color and so on, until I finished my card. For this part of the panel, I used Tumbled Glass, Salty Ocean, Blueprint Sketch and Chipped Sapphire.
I gave some highlight to the sky simulating slightly clouds adding Picket Fence.
I gave some highlight to the sky simulating slightly clouds adding Picket Fence.
Images
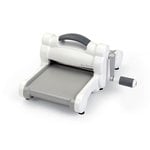
I picked the tree that comes in the same set that I used before, the HA die cuts set. I cut some trees on basic white cardstock using my Sizzix machine. I cut some trees because I like having extra pieces so I could create more if I didn't like the result. First, I colored the top of the tree with different green Distress Inks and then, the trunk of the tree with brown tones Distress Inks.
For the top of the tree, I used Evergreen Bough and Pine Needles although I created another one using Crushed Olive and Forest Moss, but I didn't use it. For the trunk, I used Vintage Photo and Ground Espresso for both images.
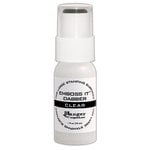
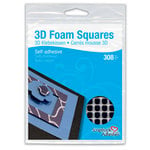
When I finished creating the tree, I realized that my card was a little bit dull, so I decided to pop up the image using mounting foam squares but before I gave it some gloss look using ultra fine embossing powders. So, I embossed my image using Embossing Dabber from Ranger that it is good for big surfaces, and then, I added the embossing powders.
When I finished creating the tree, I realized that my card was a little bit dull, so I decided to pop up the image using mounting foam squares but before I gave it some gloss look using ultra fine embossing powders. So, I embossed my image using Embossing Dabber from Ranger that it is good for big surfaces, and then, I added the embossing powders.
Card Mounting
I attached my panel to a piece of light green cardstock and then, to the basic white card base. Later, I added some mounting foam squares to the tree and placed it on my panel. I wanted my image to be the focal point of the card with its glossy look, so I didn't add more embellishments.
YouTube Video
And that's all!
I hope you like this card.









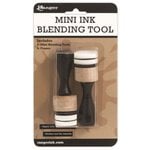
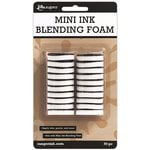
Ink Blending Tools


.jpg)


