Hi there! It's me, Cha! In this video, I went beyond for using basic cotton that we can add to our projects. Most of us have some cotton in our houses for other reasons, of course, and children use it for many projects at school, too. So, I asked myself that why we don't use it for embellishing our cards.
As I received my Monthly Hero kit July 2017, I decided to make a card using the stamps and sentiments from the main set, some watercolor paper that was also included in the kit, a piece of acetate, some permanent inks and some Distress Inks and Oxide inks, too. I also used cotton that is the main component of this card, and a cloud stencil that I made using my Silhouette Curio machine to cut it on a piece of acetate (I used the cloud which is included in the Silhouette Library), or you can just make it with a pair of scissors on a piece of acetate or masking paper.
Background
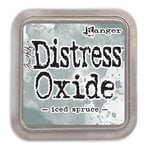
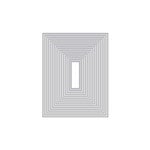
First of all, I took the cloud stencil and I started coloring with Iced Spruce Distress Oxide (which is included in this Hero Arts kit) with small circular movements and from the top to the bottom of the paper (I didn't follow a specific pattern, just here and there). When I finished coloring, I added some touches of the same color on those parts that I didn't color but very slightly, not so much. Then, I took the second biggest square infinity die (from Hero Arts) to make the background a little bit smaller.
Images
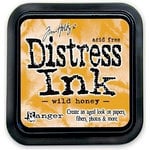
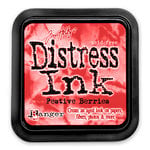
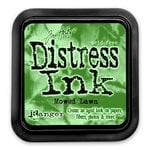
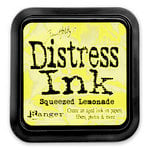
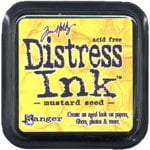
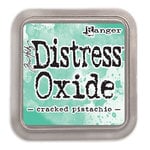
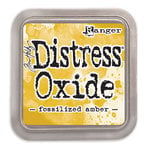
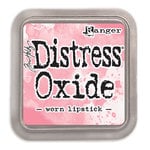
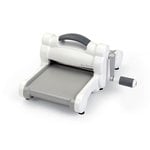
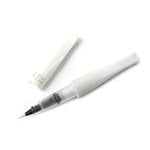
Secondly, I decided to stamp one of the bunches of flowers that came with the main kit on a piece of watercolor paper (not the one that was in the kit) because I was going to color with Distress Inks and Oxide Inks. I stamped my image with detailed permanent ink (Versafine Onyx Black) and colored a layer of color with Distress Inks using a medium pen brush. This first layer, I picked the following colors: squeezed lemonade, carved pumpkin, abandoned coral and cracked pistachio. Later, I gave to the images a little of shadows with another layer of color, this time I chose mustard seed, festive berries, wild honey and mowed lawn. Finally, I wanted to give to the image some highlights, so for that, I colored with Distress Oxides (Cracked pistachio, spiced marmalade, fossilized amber and worn lipstick). Then, I cut the image with its corresponding die cut using my Big Shot Sizzix Machine and color the borders of the image with the same color of the background (that it was Iced Spruce Distress Oxide Ink).
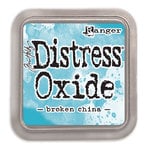
Thirdly, I also picked one of the vase stamps that were included in the main kit, the mason jar. This time, I first colored a part of some watercolor paper, using Distress Oxide Inks (Broken China and Blue jeans) and I cut that colored part with the die cut of the mason jar (again with my Sizzix machine). When I finished, I took a piece of acetate and stamped the image of the mason jar on it using Stazon Ink (that is permanent ink on many materials, such as glass, wood etc.) and I also cut it with the mason jar die cut.
Card mounting
In this kit, there were included some pieces of handmade watercolor paper. I took just a piece of it and broke that piece with my fingers and adhered at the bottom of the cloud panel. Later, I glued the images. First, I glued the mason jar (the colored one, the blue one), then I attached the colored bunch of flowers and finally, the piece of acetate on the colored mason jar.
Embellishments
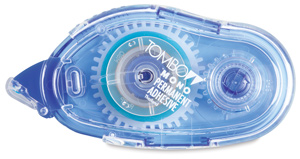
I decided to create a little of dimension adding some basic cotton around the mason jar as if the vase and the flowers were gone around by clouds. I put some adhesive (Tombow Aqua) first and added the cotton on it while pressing down with my fingers very slightly.
I noticed that the card was very complex at this point. I didn't want to add any extra piece of paper with the sentiment, so I decided to add the sentiment on one of the parts of my card - simple but beautiful. I added the sentiment which was also included in the Hero Art kit using, again, the Versafine Onyx black ink. I stamped the sentiment on the piece of watercolor paper that I glued at the bottom of the panel.
And voilá!
YouTube Video
I hope you like this creation and thank you so much for visiting me here!
See you the next time.












.jpg)

